To properly clean a tube furnace, you must first ensure it is completely disconnected from power and the process tube has cooled to room temperature. The standard procedure involves mechanically removing loose deposits with a soft brush, then wiping the interior with a lint-free cloth lightly dampened with a mild solvent like isopropyl alcohol. This two-stage approach addresses most common contamination without damaging the delicate tube.
The core principle of cleaning a tube furnace is not just about removing visible dirt, but about preserving the integrity of the process tube and ensuring experimental reproducibility. Always begin with the gentlest method possible and only escalate if necessary, while treating the manufacturer's manual as your primary source of truth.
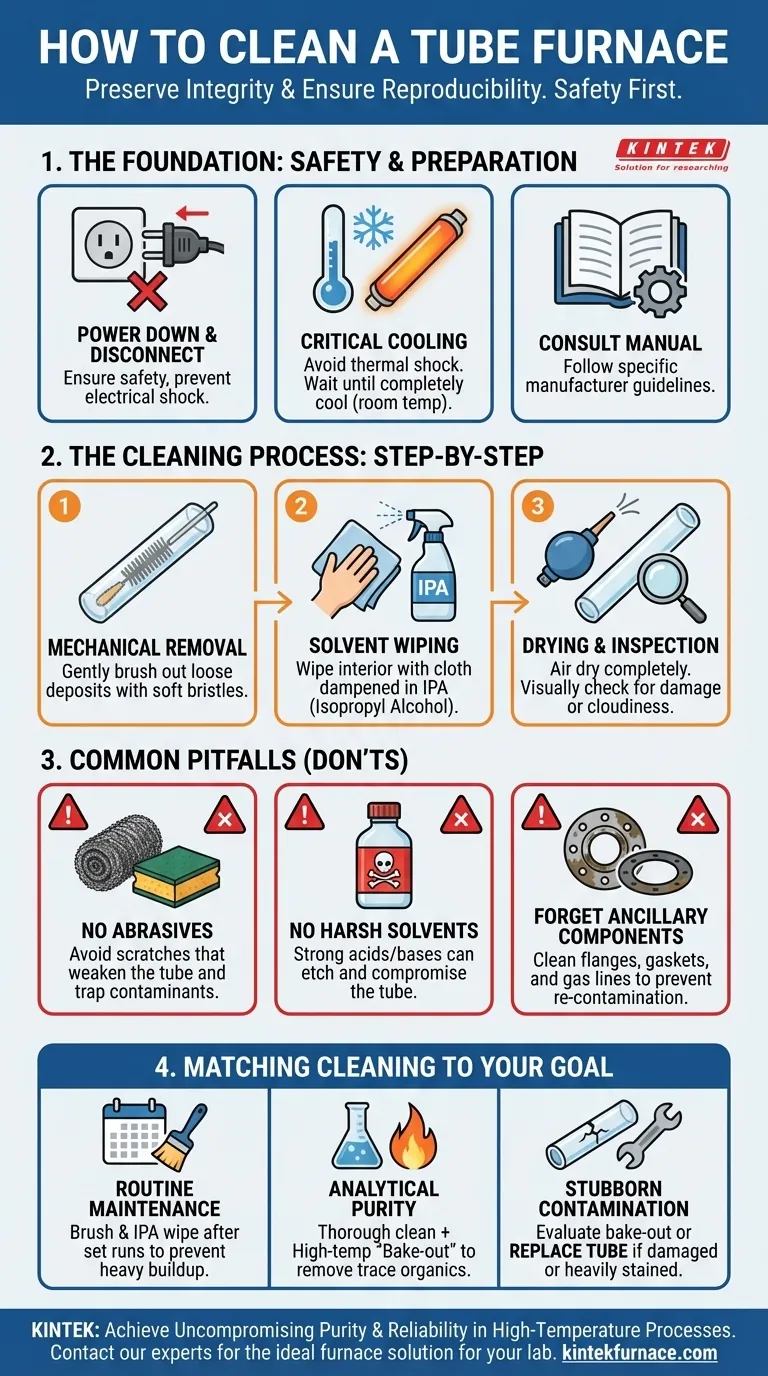
The Foundation: Safety and Preparation
Before any cleaning begins, a strict preparation protocol is essential. Rushing these initial steps can lead to equipment damage or personal injury.
### Powering Down and Disconnecting
Your first and most critical action is to completely turn off the furnace and disconnect it from its power source. This eliminates the risk of electrical shock and ensures the system cannot be accidentally activated during maintenance.
### The Critical Cooling Period
A hot process tube, especially one made of quartz, is extremely vulnerable to thermal shock. Attempting to clean a hot or even warm tube with a room-temperature cloth or solvent can cause it to crack instantly. Always allow the furnace and tube to cool down completely, which can take several hours depending on its last operating temperature.
### Always Consult the Manual
The furnace manufacturer's instructions are the definitive guide. Different tube materials, such as quartz, alumina, or mullite, may have specific chemical compatibilities and cleaning requirements. The manual will provide the most accurate advice for your specific equipment.
The Cleaning Process: A Step-by-Step Breakdown
Once the furnace is safe and cool, you can proceed with a methodical cleaning process.
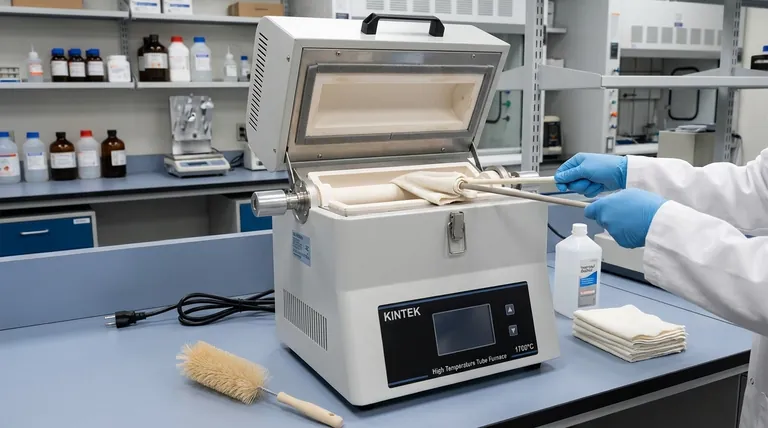
### Step 1: Mechanical Removal
Start by gently removing any loose powders, flakes, or deposits from the inside of the tube. Use a long, soft-bristled brush, like a tube brush designed for laboratory glassware. The goal is to dislodge debris without scratching the interior surface of the tube.
### Step 2: Solvent Wiping
After removing loose material, address any remaining films or residues. Dampen a clean, lint-free cloth with a mild solvent—isopropyl alcohol (IPA) is the standard choice. Attach it to a rod or tongs and carefully wipe the entire inner surface of the tube. IPA is effective because it dissolves many organic residues and evaporates quickly without leaving a film.
### Step 3: Drying and Inspection
Ensure the tube is completely dry before reassembling the furnace. You can allow it to air dry or gently pass a stream of dry nitrogen or air through it. Once dry, visually inspect the tube for any scratches, cloudiness (devitrification in quartz), or cracks.
Understanding Common Pitfalls
Avoiding common mistakes is as important as following the correct procedure. Aggressive cleaning can cause more harm than good.
### The Risk of Abrasives
Never use abrasive materials like steel wool, scouring pads, or abrasive powders. These will create microscopic scratches on the tube's interior. Scratches not only weaken the tube structurally but can also act as nucleation sites for unwanted chemical reactions or material deposition in future experiments.
### The Danger of Harsh Solvents
Always start with a mild solvent like IPA. Using strong acids or bases without understanding their effect on your tube material can lead to etching, which compromises the tube's integrity and surface finish. Only use more aggressive chemicals if explicitly recommended by the manufacturer for a specific type of contamination.
### Forgetting Ancillary Components
Contamination doesn't just reside in the tube. Remember to inspect and clean the flanges, gaskets, and any gas lines connected to your system. A pristine tube can be quickly re-contaminated by a dirty flange.
Making the Right Choice for Your Goal
The intensity and frequency of cleaning should match your application's requirements.
- If your primary focus is routine maintenance: A simple mechanical brushing and IPA wipe-down after a set number of runs is sufficient to prevent heavy buildup.
- If your primary focus is analytical purity: A thorough cleaning before every critical experiment is necessary. For trace-sensitive work, consider a high-temperature "bake-out" cycle (running the empty tube at high temperature) after solvent cleaning to burn off any residual organic traces.
- If you are dealing with stubborn contamination: First, evaluate if a bake-out cycle with an oxidizing gas is appropriate for the deposit. If the tube is heavily stained, scratched, or devitrified, replacing it is often the safest and most reliable path to clean results.
A properly maintained furnace tube is the foundation of reliable and repeatable high-temperature processing.
Summary Table:
| Step | Key Action | Purpose |
|---|---|---|
| 1 | Power Down & Cool Completely | Prevent thermal shock and ensure safety |
| 2 | Mechanical Brushing | Remove loose powders and debris |
| 3 | Solvent Wiping (e.g., IPA) | Dissolve and remove films and residues |
| 4 | Dry & Inspect | Ensure no moisture or damage before use |
Achieve Uncompromising Purity and Reproducibility in Your High-Temperature Processes
A clean furnace tube is fundamental to reliable results. At KINTEK, we understand that your research demands precision. Leveraging exceptional R&D and in-house manufacturing, we provide diverse laboratories with advanced high-temperature furnace solutions. Our product line, including Tube Furnaces, Muffle Furnaces, Rotary Furnaces, Vacuum & Atmosphere Furnaces, and CVD/PECVD Systems, is complemented by our strong deep customization capability to precisely meet your unique experimental requirements.
Let us help you build a foundation of reliability. Contact our experts today to discuss your specific application and discover the ideal furnace solution for your lab.
Visual Guide
Related Products
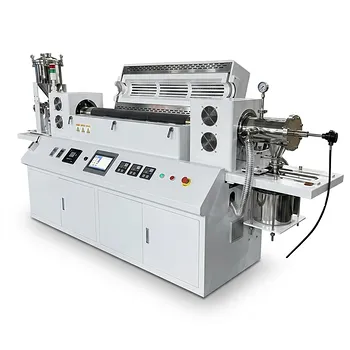
- Vacuum Sealed Continuous Working Rotary Tube Furnace Rotating Tube Furnace
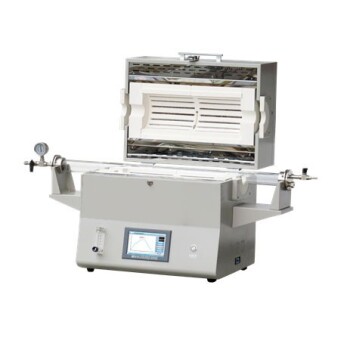
- 1400℃ High Temperature Laboratory Tube Furnace with Alumina Tube
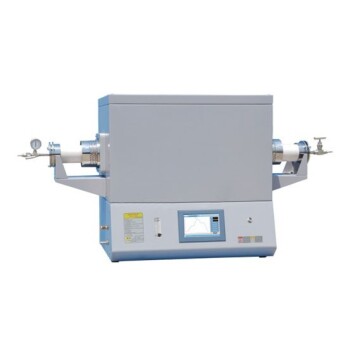
- 1700℃ High Temperature Laboratory Tube Furnace with Alumina Tube
- Magnesium Extraction and Purification Condensing Tube Furnace
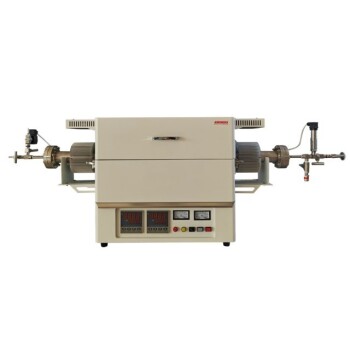
- High Pressure Laboratory Vacuum Tube Furnace Quartz Tubular Furnace
People Also Ask
- What types of materials can be processed in rotary tube furnaces? Optimize Your Thermal Processing with Versatile Solutions
- What are the technical advantages of using a rotary tube furnace for hydrochar activation? Achieve Superior Porosity
- What are the key advantages of using a rotary tube furnace? Achieve Dynamic, Uniform Heating for Powders
- What other fields utilize rotary tube furnaces? Discover Versatile Heating Solutions for Multiple Industries
- What are the advantages of rotary tube furnaces in fuel compatibility? Boost Efficiency and Cut Costs