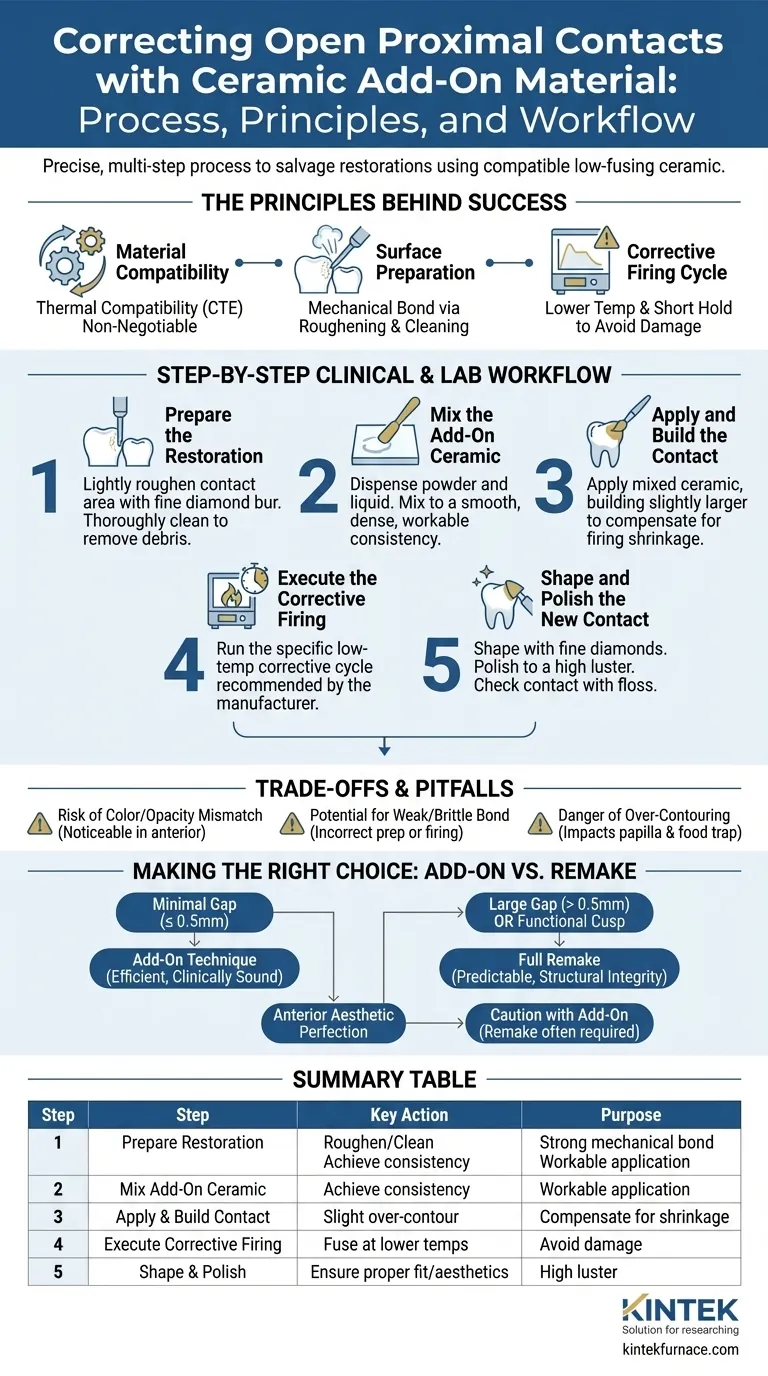
Correcting an open proximal contact with ceramic add-on material is a precise, multi-step process designed to salvage an otherwise well-fitting restoration. The procedure involves preparing the restoration's surface, applying a compatible low-fusing ceramic, firing it in a specialized corrective cycle, and finally shaping and polishing the new contact area to achieve the desired fit.
While the technique appears to be a simple addition of material, its success hinges on a deep understanding of material science. The core challenge is not just closing the gap, but creating a bond that is both mechanically strong and aesthetically invisible without compromising the integrity of the original ceramic.
The Principles Behind a Successful Addition
Before detailing the workflow, it is crucial to understand the scientific principles that govern the process. An add-on procedure is a delicate balance of thermal expansion, surface energy, and controlled firing.
Material Compatibility is Non-Negotiable
The add-on material must be thermally compatible with the parent ceramic of the restoration. This is measured by the Coefficient of Thermal Expansion (CTE).
A significant mismatch in CTE will cause stress at the interface during cooling, leading to cracks, chipping, or complete fracture of the added portion. Always use an add-on material specifically designed by the manufacturer for the ceramic system you are using.
The Importance of Surface Preparation
The bond between the existing ceramic and the new add-on material is primarily mechanical. A smooth, glazed surface offers very little retention.
To create a strong bond, the contact area must be lightly roughened with a fine-grit diamond bur. This increases the surface area and creates microscopic undercuts for the add-on material to lock into. The surface must then be meticulously cleaned, often with a steam cleaner or ultrasonic bath, to remove all grinding debris.
Understanding the Corrective Firing Cycle
A corrective firing cycle is fundamentally different from a primary crystallization or glazing cycle. It uses a lower temperature and often a shorter hold time.
This is intentional. The goal is to fuse the add-on material without subjecting the entire restoration to another full-temperature cycle, which could cause warpage, pyroplastic flow (slumping), or alter the shade and translucency of the original ceramic.
The Step-by-Step Clinical & Lab Workflow
With the foundational principles understood, the procedure itself is methodical and requires careful attention to detail at each stage.
Step 1: Prepare the Restoration
Identify the exact location and size of the open contact. Using a fine diamond bur, lightly roughen the porcelain surface where the material will be added. Do not remove excessive structure.
Thoroughly clean the restoration to remove all contaminants and grinding debris. A clean, prepared surface is the foundation for a successful bond.
Step 2: Mix the Add-On Ceramic
Dispense the add-on ceramic powder and its corresponding liquid onto a clean mixing slab. Mix them to a smooth, workable consistency that is dense enough to stay in place but wet enough to be manipulated without crumbling.
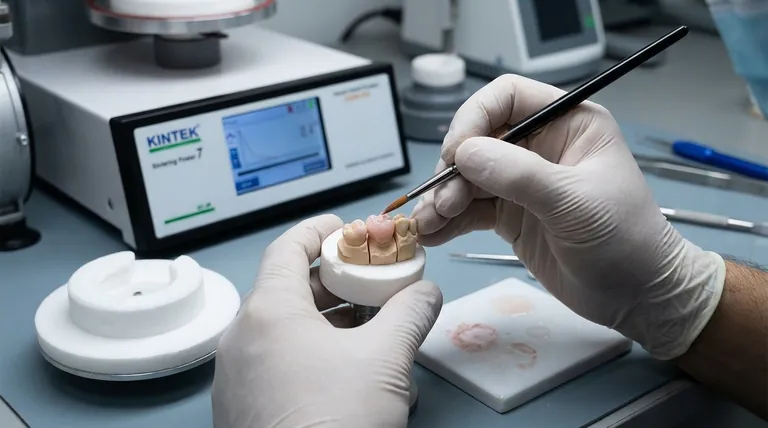
Step 3: Apply and Build the Contact
Using a small brush or instrument, apply the mixed ceramic to the prepared area. Build the contour slightly larger than the final desired shape to account for firing shrinkage, which is a natural property of all ceramics.
Step 4: Execute the Corrective Firing
Place the restoration in the porcelain furnace and run the specific corrective or "add-on" firing cycle recommended by the ceramic manufacturer. Do not deviate from these parameters. Using the wrong cycle is a common cause of failure.
Step 5: Shape and Polish the New Contact
After firing, the added ceramic will be fully fused. Use fine-grit diamonds and porcelain polishing points to shape the new contact area. Check the contact strength with dental floss.
The final surface should be polished to a high luster to match the rest of the restoration and prevent plaque accumulation.
Understanding the Trade-offs and Pitfalls
While highly effective, this technique has limitations and potential complications that every practitioner must consider.
The Risk of Color or Opacity Mismatch
Add-on materials are designed for small corrections and may not be a perfect optical match to the body porcelain. This is especially true for highly translucent incisal materials. In the anterior region, even a slight mismatch can be noticeable.
Potential for a Weak or Brittle Bond
Failure to properly prepare the surface or using an incorrect firing cycle will result in a weak bond. The addition may chip or shear off under occlusal or functional stress, requiring the process to be repeated or the crown to be remade.
The Danger of Over-Contouring
It is easy to be overzealous and create a contact that is too broad or tight. An over-contoured proximal surface can impinge on the interdental papilla and create a food trap, leading to periodontal issues. The final shape must be physiologic.
Making the Right Choice: Add-On vs. Remake
Your decision to use an add-on ceramic or remake the entire restoration should be based on a clear assessment of the clinical situation.
- If your primary focus is correcting a minimal open contact (≤ 0.5mm): The add-on technique is an extremely efficient and clinically sound solution that saves significant time and cost.
- If your primary focus is correcting a large gap (> 0.5mm) or if the contact involves a functional cusp: A full remake is often the more predictable choice to ensure long-term structural integrity.
- If your primary focus is achieving a perfect aesthetic result on an anterior tooth: Proceed with caution, as a remake may be the only way to guarantee a seamless optical match with the adjacent teeth.
Mastering this technique empowers you to solve a common clinical problem efficiently while upholding a high standard of care.
Summary Table:
| Step | Key Action | Purpose |
|---|---|---|
| 1 | Prepare Restoration | Roughen and clean surface for strong mechanical bond |
| 2 | Mix Add-On Ceramic | Achieve workable consistency for application |
| 3 | Apply and Build Contact | Compensate for firing shrinkage with slight over-contouring |
| 4 | Execute Corrective Firing | Fuse material at lower temps to avoid damage |
| 5 | Shape and Polish | Ensure proper fit and aesthetics with high luster |
Enhance your dental lab's precision with KINTEK's advanced furnace solutions! Leveraging exceptional R&D and in-house manufacturing, we provide dental laboratories with high-temperature furnaces like Muffle, Tube, and Vacuum & Atmosphere Furnaces, tailored for ceramic add-on procedures. Our deep customization capabilities ensure your furnaces meet unique experimental needs, improving bond strength and efficiency. Contact us today to discuss how our solutions can elevate your restoration workflows and deliver superior results for your patients!
Visual Guide
Related Products
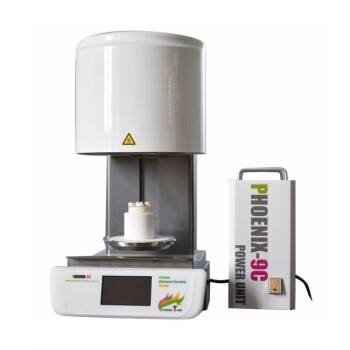
- Chairside Dental Porcelain Zirconia Sintering Furnace with Transformer for Ceramic Restorations
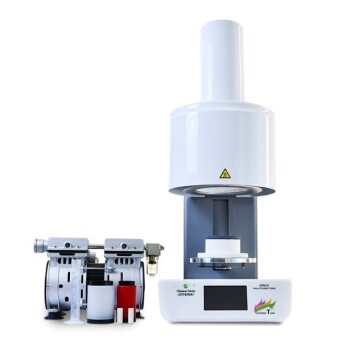
- Dental Porcelain Zirconia Sintering Ceramic Vacuum Press Furnace
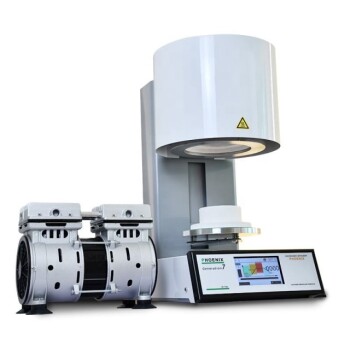
- Vacuum Dental Porcelain Sintering Furnace for Dental Laboratories
People Also Ask
- What is the role of temperature control in zirconia sintering furnaces? Achieve Perfect Dental Restorations
- What type of heating elements are preferred for zirconia sintering and why? Choose SiC or MoSi2 for Optimal Results
- How do conventional vs rapid sintering in dental furnaces affect zirconia? Optimize Efficiency Without Sacrificing Strength
- What safety precautions should be taken when using a zirconia sintering furnace? Ensure Operator Safety and Equipment Longevity
- How to select a zirconia sintering furnace supplier? Ensure Precision and Reliability for Your Lab