The thermal stress that shatters a furnace lining isn't just about the heat—it's about the race between surface heat transfer and internal conduction.
The Biot number ((Bi = a h / k)) directly quantifies this competition. In thermal stress calculations, it acts as the decisive scaling factor in (\sigma = E \alpha \Delta T , f(Bi)). A low Biot number means the refractory’s thermal conductivity can quickly even out temperatures, producing low stress. A high Biot number means the heat transfer coefficient at the surface overwhelms internal conduction, creating steep temperature gradients and dangerous stress levels. By calculating the critical temperature difference (\Delta T_c) through the Biot number, furnace designers and operators set safe heating and cooling limits that prevent catastrophic thermal shock.
The Biot number is the master switch in thermal stress analysis. By manipulating a refractory's thermal conductivity, size, and the furnace’s heat transfer conditions, you directly control the internal temperature gradients that drive failure. Using this relationship to establish safe (\Delta T) boundaries is the single most effective way to build a durable, crack-free lining.
How Heat Transfer Dictates Mechanical Failure
Thermal stress in a refractory is not a simple material property—it emerges from a specific coupling of heat flow and mechanical restraint. The Biot number connects those two worlds.
The Equation That Ties Everything Together
The stress generated during heating or cooling is governed by (\sigma = E \alpha \Delta T , f(Bi)). Here, (E) is the elastic modulus, (\alpha) is the thermal expansion coefficient, and (\Delta T) is the temperature difference between the component and its environment. The term (f(Bi)) is the heart of the problem: it accounts for the actual shape of the temperature distribution inside the refractory. For a given (\Delta T), a higher Biot number produces a steeper internal gradient and a larger stress value.
The Biot Number as a Thermal Lens
Think of the Biot number as the lens that magnifies or shrinks (\Delta T) into an internal stress.
A low Bi ((Bi < 0.1)) means internal conduction resists far less than surface heat transfer. The refractory cools or heats almost uniformly, the temperature profile is flat, and (f(Bi)) stays small—stresses are minimal.
A high Bi ((Bi > 10)) means the surface heat transfer coefficient is so aggressive that the refractory’s skin temperature changes almost instantly, while a thick interior lags behind. This creates a steep, concentrated temperature gradient and a large (f(Bi)) that pushes stress toward (E \alpha \Delta T). Most furnace linings sit in an intermediate regime where small changes in Biot number produce dramatic swings in stress.
The Three Levers: (h), (k), and (a)
Every heat transfer parameter feeds directly into the Biot number, giving you three practical handles on stress.
- Heat transfer coefficient ((h)): Driven by flame impingement, gas velocity, and radiation. High (h) from aggressive burners raises the Biot number, forcing the refractory surface to adopt the gas temperature rapidly and amplifying thermal shock risk.
- Thermal conductivity ((k)): The material’s ability to conduct heat away from the surface. Increasing (k) lowers the Biot number, spreading thermal energy deeper and flattening the gradient. This is often the most design-friendly lever, but it rarely comes for free.
- Characteristic length ((a)): The thickness or radius of the component. A thinner refractory has a smaller (a), reducing Bi, because the heat has less distance to travel and the temperature profile stays closer to uniform.
Understanding the Trade-offs
No single parameter can be optimized in isolation. Every choice that lowers the Biot number collides with other performance demands.
The Conductivity–Strength Paradox
High thermal conductivity materials—like silicon carbide—are classic thermal-shock champions. They drain heat rapidly and keep Biot numbers low. However, many high-conductivity refractories trade off mechanical strength at temperature or cost-effectiveness. A low-conductivity alumina brick may be stronger in creep but far more brittle when subjected to rapid temperature changes.
Thin Walls vs. Energy Efficiency
Reducing lining thickness cuts the Biot number directly and slashes thermal stress. But a thinner wall loses more heat, increasing energy costs and potentially overheating the furnace shell. Operators must balance mechanical survival against thermal efficiency, often with a compromise that uses a dense hot-face layer backed by insulating materials.
The Intractability of (h)
The furnace’s heat transfer coefficient is often set by process conditions—high-velocity burners or quenching cycles. You rarely have the freedom to dial (h) down just to protect the refractory. Instead, engineers must compensate by selecting materials (higher (k)) or geometry (thinner sections) that tolerate the existing heat transfer environment.
Making the Right Choice for Your Goal
The critical temperature difference (\Delta T_c) derived from the Biot number gives you a practical yardstick. Apply it based on what matters most in your furnace.
- If your primary focus is extending lining life: Choose a refractory with high thermal conductivity and low thermal expansion, and minimize section thickness where possible to force a low Biot number. This flattens gradients and reduces the driving stress during every cycle.
- If your primary focus is energy efficiency: Accept a higher Biot number from thick, insulating linings, but compensate by enforcing rigid heating and cooling ramp rates that keep the actual (\Delta T) well below the critical limit.
- If your primary focus is rapid cycle times: Lean on advanced ceramics with a high ratio of fracture strength to elastic modulus and low thermal expansion, and use active temperature control to smooth the furnace-side (h) before the material sees a damaging gradient.
The Biot number transforms a chaotic thermal environment into a single, dimensionless indicator. By understanding it, you replace guesswork with a clear mechanical decision—one that keeps high-temperature refractory components intact.
Summary Table:
| Parameter / Regime | Impact on Biot Number ($Bi$) | Effect on Internal Thermal Stress | Primary Engineering Solution |
|---|---|---|---|
| Heat Transfer Coeff. ($h$) | Higher $h$ $\rightarrow$ Higher $Bi$ | Amplifies thermal shock risk via steep gradients | Enforce controlled heating/cooling ramp rates |
| Thermal Conductivity ($k$) | Higher $k$ $\rightarrow$ Lower $Bi$ | Flattens temp profile, significantly reduces stress | Select high-$k$ materials (e.g., SiC refractories) |
| Characteristic Length ($a$) | Larger $a$ $\rightarrow$ Higher $Bi$ | Increases internal thermal lag and stress | Minimize section thickness where structural design permits |
| Low Biot Regime ($Bi < 0.1$) | Minimal thermal lag | Low stress; component heats/cools uniformly | Ideal for rapid cycling and thermal shock resistance |
| High Biot Regime ($Bi > 10$) | Severe surface-to-core lag | Extreme stress nearing theoretical limit ($E \alpha \Delta T$) | Back dense hot-face layers with thermal insulation |
At KINTEK, we understand that mastering thermal stress and extending component lifespan requires precise temperature management and superior furnace engineering. As experts in laboratory equipment and high-temperature consumables, we offer a comprehensive range of customizable high-temperature furnaces—including muffle, tube, rotary, vacuum, CVD, atmosphere, dental, and induction melting systems—tailored to meet your exact technical demands.
Ready to prevent lining failure and enhance your lab's thermal efficiency? Contact KINTEK today to consult with our high-temperature application specialists!
Related Products
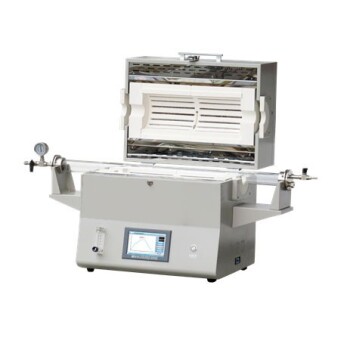
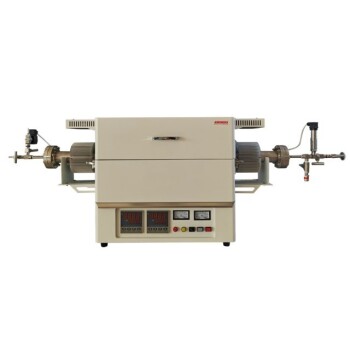
- 1400℃ High Temperature Laboratory Tube Furnace with Alumina Tube
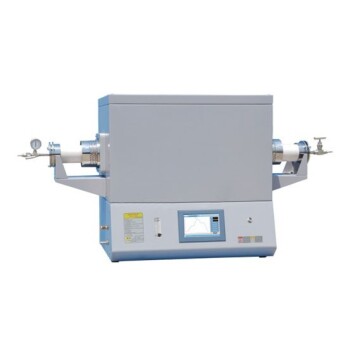
- 1700℃ High Temperature Laboratory Tube Furnace with Alumina Tube
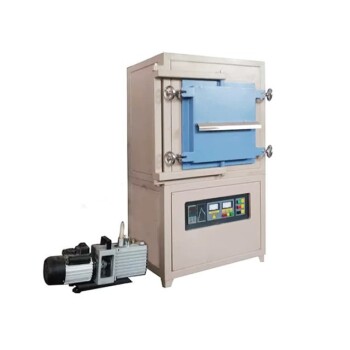
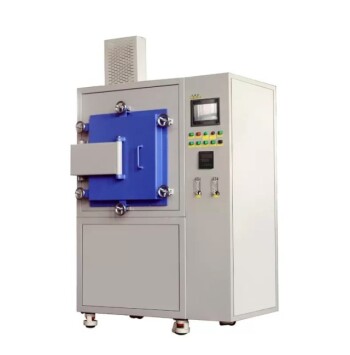
- 1700℃ Controlled Inert Nitrogen Atmosphere Furnace
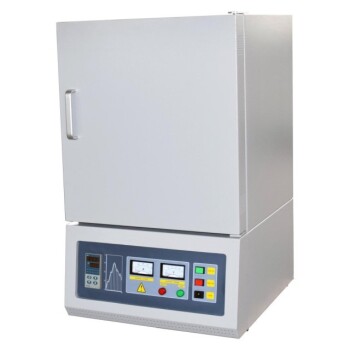
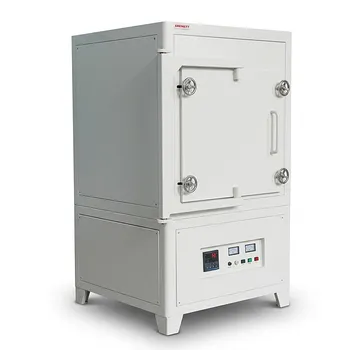
- 1700℃ High Temperature Muffle Oven Furnace for Laboratory
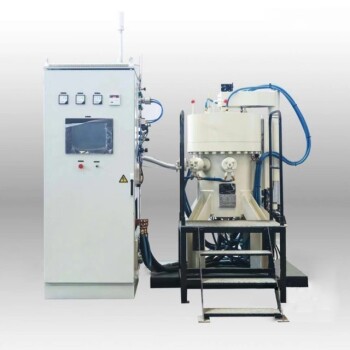
- 2200 ℃ Tungsten Vacuum Heat Treat and Sintering Furnace
People Also Ask
- How do high-temperature laboratory tube furnaces ensure environmental stability? Precision Thermal Reduction Tips
- How are high-temperature laboratory tube furnaces applied in long-term vacuum homogenization heat treatments for intermetallic samples?
- How are high-temperature tube furnaces applied in testing ceramic-supported alloy membranes? Insights
- How does a laboratory high-temperature tube furnace contribute to the conversion of electrospun fibers? Expert Insights
- What is the function of a furnace in CuAlMn alloy treatment? Achieve Perfect Microstructural Homogenization