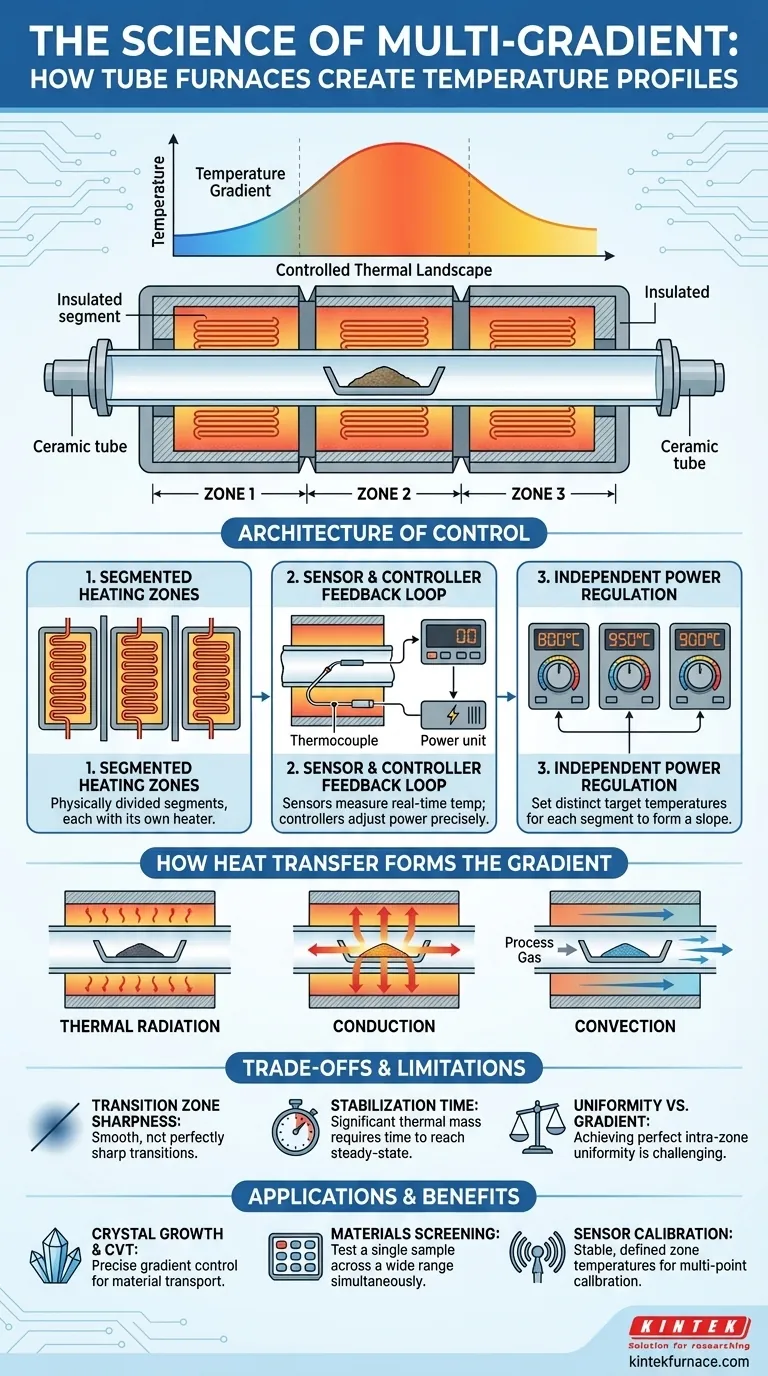
At its core, a multi-gradient experimental tube furnace creates temperature gradients through a system of multiple, independently controlled heating zones. Unlike a standard furnace with a single heating element, a multi-zone furnace is physically divided into segments. By setting each segment's controller to a different temperature, a deliberate and stable temperature difference is established along the length of the processing tube.
The key isn't just multiple heaters; it's the combination of segmented heating elements, precise sensor feedback loops, and independent power control. This architecture transforms a simple heating chamber into a sophisticated tool for engineering specific thermal landscapes.
The Architecture of Gradient Control
To understand how a gradient is formed and maintained, you must look at the furnace's fundamental design. The capability arises from a coordinated system where each part has a distinct function.
Segmented Heating Zones
The furnace's heated chamber is not monolithic. It is constructed from several distinct sections, each wrapped with its own heating element. A furnace described as a "three-zone" model, for example, has three such segments arranged end-to-end. This physical separation is the first requirement for creating a temperature differential.
The Sensor and Controller Feedback Loop
Each heating zone is paired with its own temperature sensor, typically a thermocouple. This sensor constantly measures the real-time temperature within its specific zone and sends that data back to a dedicated controller.
The controller compares this real-time temperature to the target temperature you have set for that zone. If there is a discrepancy, the controller precisely adjusts the electrical power sent only to that zone's heating element, creating a continuous, self-correcting feedback loop for each segment.
Independent Power Regulation
This ability to adjust power to each zone independently is what makes a gradient possible. You can program the controller for Zone 1 to 800°C, Zone 2 to 950°C, and Zone 3 to 900°C. The system will then work to maintain these distinct temperatures, establishing a controlled thermal slope between them. Some advanced systems use a master/slave configuration where one zone's controller can influence the others for even more complex profiles.
How Heat Transfer Forms the Gradient
The electronic control system sets the boundary conditions, but the final gradient experienced by your sample is governed by the physics of heat transfer.
Thermal Radiation
In a vacuum or inert atmosphere, thermal radiation is often the dominant mode of heat transfer. The inner walls of the furnace tube in each zone get hot and radiate thermal energy toward your sample. A hotter zone radiates with higher intensity than a cooler zone, directly imprinting the temperature gradient onto the sample inside.
Conduction and Convection
Thermal conduction plays a role as heat travels through the material of the furnace tube itself and through any sample holder or crucible in physical contact with the tube.
Convection becomes significant if a process gas is flowing through the tube. The gas will heat up or cool down as it passes through the different zones, carrying thermal energy with it and influencing the final temperature profile experienced by the sample.
Understanding the Trade-offs and Limitations
While powerful, these systems are not perfect. Understanding their inherent limitations is critical for designing valid experiments.
Transition Zone Sharpness
The gradient between two zones is not a perfectly sharp line. Heat will naturally conduct and radiate from a hotter zone into its cooler neighbor, creating a smooth transition. The quality of the insulation between the heating segments dictates how sharp or gradual this transition will be.
Stabilization Time
A furnace has significant thermal mass. When you program a new set of temperatures, the system requires time to shed or absorb energy to reach the new steady-state gradient. This stabilization period can range from minutes to hours depending on the size of the furnace and the magnitude of the temperature change.
Uniformity vs. Gradient
These furnaces are designed to create gradients. While a single zone can be held at a very stable average temperature, achieving perfect thermal uniformity across that same zone can be challenging, especially near the ends where it borders another zone or the unheated part of the furnace.
Making the Right Choice for Your Goal
Your experimental objective determines how you should leverage the furnace's capabilities.
- If your primary focus is chemical vapor transport or crystal growth: You will need to precisely control the slope and stability of the gradient, as this directly influences material transport and deposition rates.
- If your primary focus is materials screening or alloy development: The gradient allows you to test a single sample across a wide range of temperatures simultaneously, dramatically accelerating your research.
- If your primary focus is sensor calibration: The stable, well-defined temperature of each individual zone can be used to calibrate multiple sensors at different temperatures in a single run.
By understanding these core principles, you can engineer the precise thermal environment required for your specific application.
Summary Table:
| Component | Function |
|---|---|
| Segmented Heating Zones | Divides furnace into independent sections for temperature differentials |
| Sensor and Controller Feedback Loop | Uses thermocouples and controllers to maintain precise zone temperatures |
| Independent Power Regulation | Allows separate temperature settings for each zone to establish gradients |
| Heat Transfer Mechanisms | Includes radiation, conduction, and convection to shape thermal profiles |
| Applications | Supports chemical vapor transport, materials screening, and sensor calibration |
Ready to engineer precise thermal environments for your lab? KINTEK leverages exceptional R&D and in-house manufacturing to provide advanced high-temperature furnace solutions tailored to your needs. Our product line includes Muffle, Tube, Rotary Furnaces, Vacuum & Atmosphere Furnaces, and CVD/PECVD Systems, all backed by strong deep customization capabilities to meet unique experimental requirements. Whether you're working on chemical vapor transport, materials screening, or sensor calibration, we can help you achieve superior results. Contact us today to discuss how our furnaces can enhance your research efficiency and accuracy!
Visual Guide
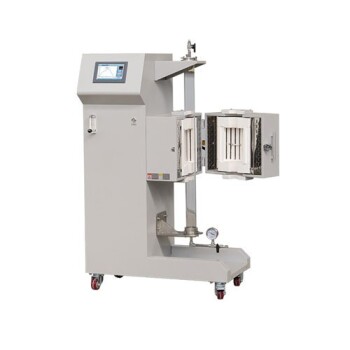
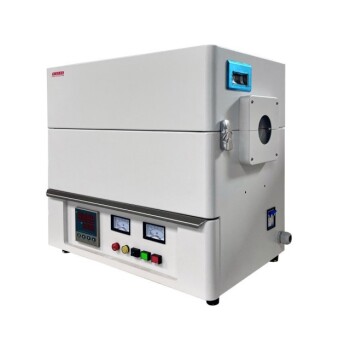
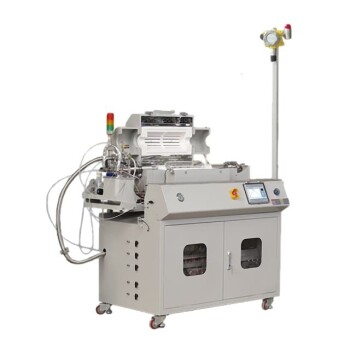
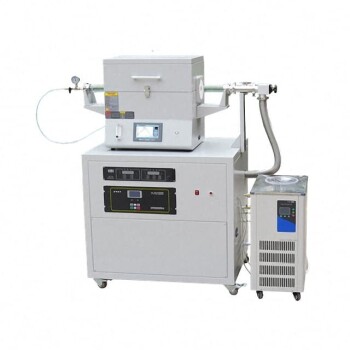
Related Products
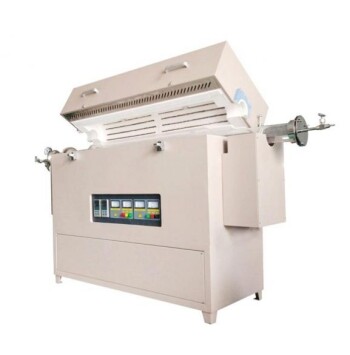
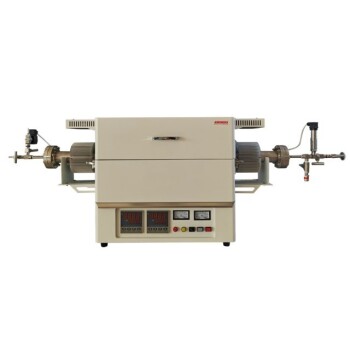
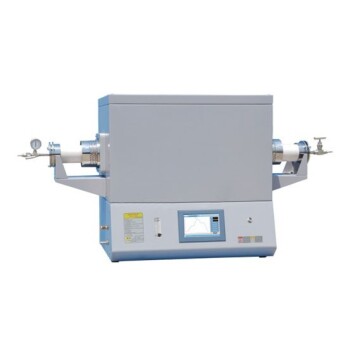
- Multi Zone Laboratory Quartz Tube Furnace Tubular Furnace
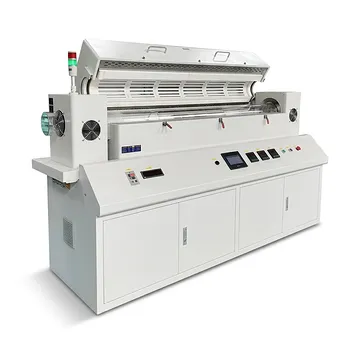
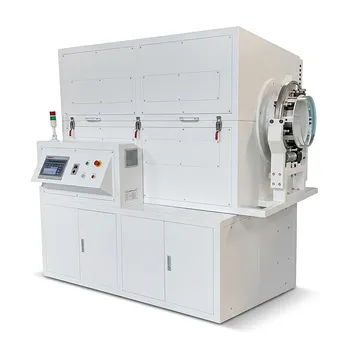
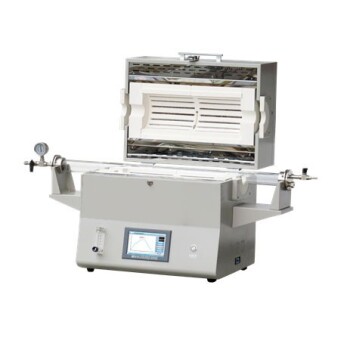
- Split Multi Heating Zone Rotary Tube Furnace Rotating Tube Furnace
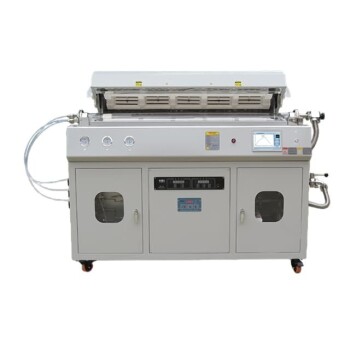
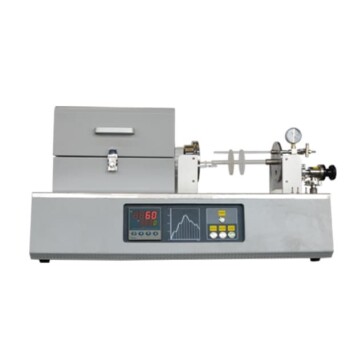
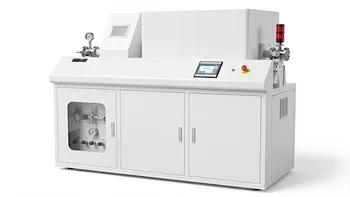
- Multi Heating Zones CVD Tube Furnace Machine for Chemical Vapor Deposition Equipment
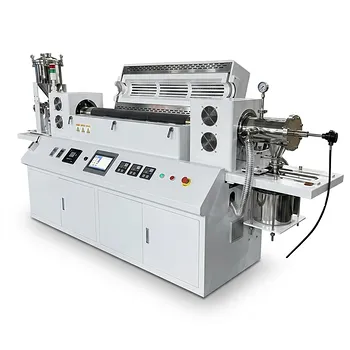
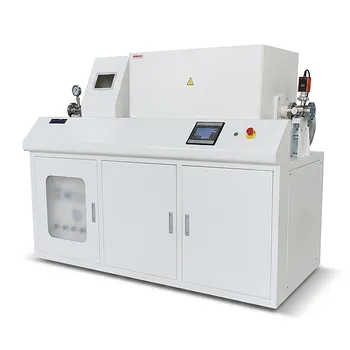
- Vacuum Sealed Continuous Working Rotary Tube Furnace Rotating Tube Furnace
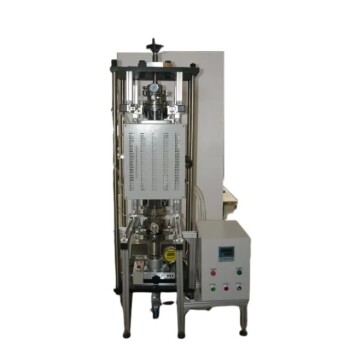
- Vertical Laboratory Quartz Tube Furnace Tubular Furnace
People Also Ask
- What role do multi zone tube furnaces play in new energy research? Unlock Precise Thermal Control for Innovation
- What are the benefits of integrating multiple heating zones in a tube furnace? Unlock Precise Thermal Control
- What are the advantages of multi-zone tube furnaces? Achieve Superior Thermal Control for Advanced Materials Processing
- What are the advantages of individually temperature-controlled zones in multi-zone furnaces? Unlock Precision Thermal Gradients
- How does the temperature control system work in a multi gradient experimental tube furnace? Master Precise Heat Profiles for Your Lab