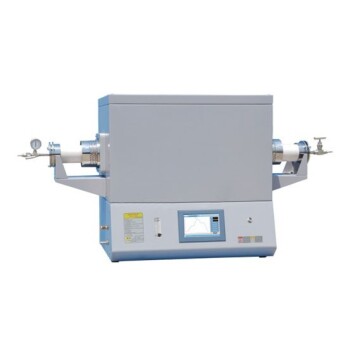
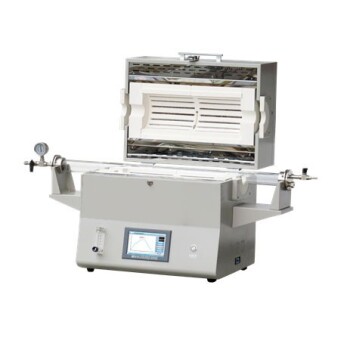
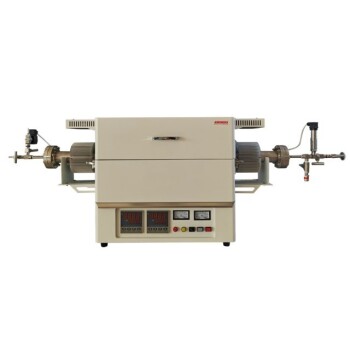
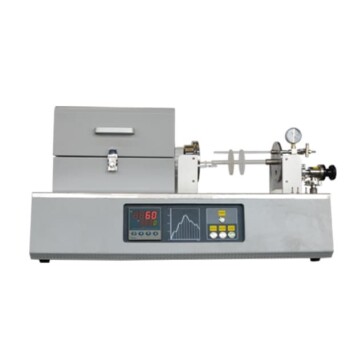
At its core, calibrating a tube furnace's temperature control system is a systematic process of correcting the difference between the temperature the controller displays and the actual temperature inside the furnace tube. This involves using a certified, high-precision reference thermometer to measure the real temperature at specific setpoints, and then adjusting the controller's internal parameters to eliminate any discrepancy.
The ultimate goal of calibration is not just to make the numbers match. It is to guarantee that the thermal environment your material experiences is accurate, stable, and repeatable, which is the absolute foundation for any successful scientific experiment or manufacturing process.
Why Accurate Calibration is Non-Negotiable
Failing to calibrate your furnace is like trying to navigate with an unreliable compass. The displayed heading might seem correct, but your actual path could be significantly off, leading to failed outcomes.
The High Cost of Inaccuracy
A temperature deviation of even a few degrees can be the difference between a successful result and a failed one. For processes like Chemical Vapor Deposition (CVD), preparing thin films, or growing nanomaterials, precise temperature control is paramount. An uncalibrated system can lead to ruined samples, wasted materials, and invalid experimental data.
Ensuring Repeatability and Stability
The purpose of a furnace is to create a controlled, repeatable environment. Calibration ensures that when you set the controller to 1000°C today, it produces the same thermal conditions as it did last week and will next month. This repeatability is critical for both scientific validity and manufacturing quality control.
The Role of Modern Control Systems
Modern tube furnaces feature advanced temperature controllers using PID (Proportional-Integral-Derivative) regulation, fuzzy logic, and self-tuning technologies. These systems are designed for precision, but they rely on accurate sensor input. Calibration is the process of "teaching" this intelligent system what the true temperature is.
The Step-by-Step Calibration Process
While the specific menu navigation will vary by manufacturer, the fundamental principles of calibration are universal. Always consult your furnace's manual for controller-specific instructions.
Step 1: Prepare Your Tools
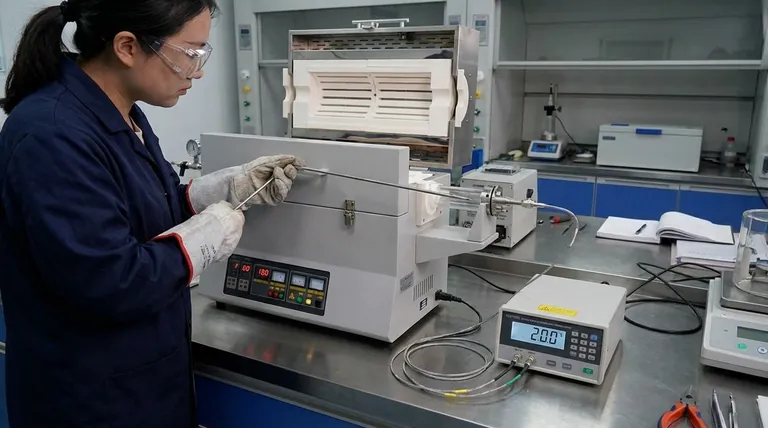
The most critical tool is a high-precision reference thermometer with a calibrated thermocouple probe. This reference probe must be more accurate than the furnace's own system. Ensure its calibration is certified and current.
Step 2: Enter Calibration Mode
Most controllers have a protected calibration or setup menu. This typically requires a specific key combination or password to prevent accidental changes during normal operation.
Step 3: Select Calibration Points
Do not calibrate at only one temperature. For best accuracy, select at least three points that span your typical operating range: one low, one in the middle, and one near your maximum process temperature.
Step 4: Stabilize the Temperature ("Soaking")
Set the furnace to your first calibration point and let it stabilize. The temperature must be held constant for a period—often 15 to 30 minutes—to ensure the entire thermal mass of the furnace is at a steady state. This is known as "soaking."
Step 5: Measure the True Temperature
Carefully insert the reference thermocouple probe into the furnace tube. The tip of the probe should be placed as close as possible to the center of the furnace's uniform heat zone, right next to the furnace's internal control thermocouple if possible.
Step 6: Compare and Adjust the Offset
Record the temperature from your reference thermometer and compare it to the temperature displayed on the furnace controller. Enter the measured "actual" temperature into the controller's calibration menu. The controller will then calculate and store an offset value to correct the discrepancy.
Step 7: Save, Repeat, and Verify
Save the new parameter. Repeat steps 4-6 for each of your chosen calibration points. After calibrating all points, it's good practice to set the furnace to a new temperature (one you didn't use for calibration) to verify that the correction is accurate across the range.
Understanding the Limitations and Trade-offs
Perfect temperature control is a theoretical ideal. In practice, you must understand the inherent limitations of the system.
Display Accuracy vs. Thermal Field Stability
A controller may have a display accuracy of ±1°C, meaning the number on the screen is very close to the temperature at the tip of its internal sensor. However, the temperature field stability across the entire heated zone of the tube might be ±5°C. This means there can be a 10°C gradient from one point in the tube to another. Calibration corrects the controller's reading, but it does not change the physical thermal gradient of the furnace itself.
The Challenge of Multi-Zone Furnaces
Some advanced furnaces have multiple, independently controlled heating zones. Each zone has its own thermocouple and heating elements and must be calibrated as a separate system. Calibrating only one zone will not ensure the accuracy of the others.
Calibration Drift Over Time
Calibration is not a one-time event. Thermocouples, especially those used at very high temperatures, degrade and "drift" over time. This means their voltage output for a given temperature changes, leading to inaccurate readings. A regular calibration schedule is essential to combat this.
Making the Right Choice for Your Goal
Your calibration strategy should be driven by your application's sensitivity to temperature.
- If your primary focus is high-precision research (e.g., CVD, crystal growth): Calibrate frequently (e.g., quarterly or after every 200 hours of use) using multiple points that tightly bracket your specific process temperatures.
- If your primary focus is routine annealing or general heating: A semi-annual or annual calibration at a few key operating points is likely sufficient to ensure consistent production.
- If you are troubleshooting inconsistent results in your process: An immediate, full multi-point calibration should be your first step, as temperature inaccuracy is a frequent and often overlooked root cause.
Mastering the calibration of your furnace transforms it from a simple heater into a precision instrument, giving you direct control over the outcome of your work.
Summary Table:
| Step | Key Action | Purpose |
|---|---|---|
| 1 | Prepare high-precision reference thermometer | Ensure accurate measurement of actual temperature |
| 2 | Enter calibration mode on controller | Access settings for adjustment |
| 3 | Select multiple calibration points | Cover typical operating range for comprehensive accuracy |
| 4 | Stabilize temperature (soaking) | Achieve steady thermal state for reliable readings |
| 5 | Measure true temperature with reference probe | Compare actual vs. displayed temperature |
| 6 | Adjust offset in controller | Correct discrepancies for precise control |
| 7 | Save, repeat, and verify | Ensure accuracy across temperature range and confirm calibration |
Ensure your experiments and processes achieve peak performance with KINTEK's advanced high-temperature furnace solutions. Leveraging exceptional R&D and in-house manufacturing, we provide diverse laboratories with reliable products like Tube Furnaces, Muffle Furnaces, Rotary Furnaces, Vacuum & Atmosphere Furnaces, and CVD/PECVD Systems. Our strong deep customization capability allows us to precisely meet your unique experimental requirements, guaranteeing accurate temperature control and repeatability. Contact us today to discuss how we can support your specific needs and enhance your lab's efficiency!
Visual Guide

Related Products
- 1700℃ High Temperature Laboratory Tube Furnace with Alumina Tube
- 1400℃ High Temperature Laboratory Tube Furnace with Alumina Tube
- High Pressure Laboratory Vacuum Tube Furnace Quartz Tubular Furnace
- Laboratory Quartz Tube Furnace RTP Heating Tubular Furnace
- Vacuum Heat Treat Sintering Furnace with Pressure for Vacuum Sintering
People Also Ask
- What is the function of injecting water in wood thermal modification? Unlock Superior Stability and Hydrophobicity
- What role does a vacuum sintering furnace play in the final preparation of master alloy tablets? Ensure Peak Purity
- What functions does glucose perform in lithium-ion sieve synthesis? Enhance Carbothermal Reduction for LiMnO2 Purity
- What advantages do cylindrical guide vanes offer? Optimize Flow & Temperature Uniformity in Vacuum Tempering
- What is the function of multi-turn copper induction coils in the heating process of titanium powder compacts? Key Roles
