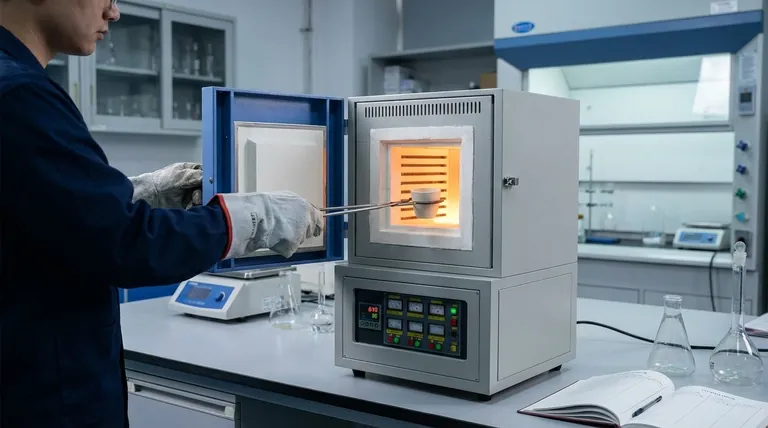
Operating a muffle furnace safely and effectively is a matter of following a precise, methodical procedure. The core process involves placing your sample in the chamber, programming the desired temperature and time, allowing the furnace to heat and "soak" at that temperature, and then executing a controlled cooldown before safely removing the sample.
A muffle furnace is a powerful instrument for high-temperature applications, but its power demands respect. The key to successful and safe operation is not speed, but a disciplined process that prioritizes preparation, careful handling, and a controlled cooldown.
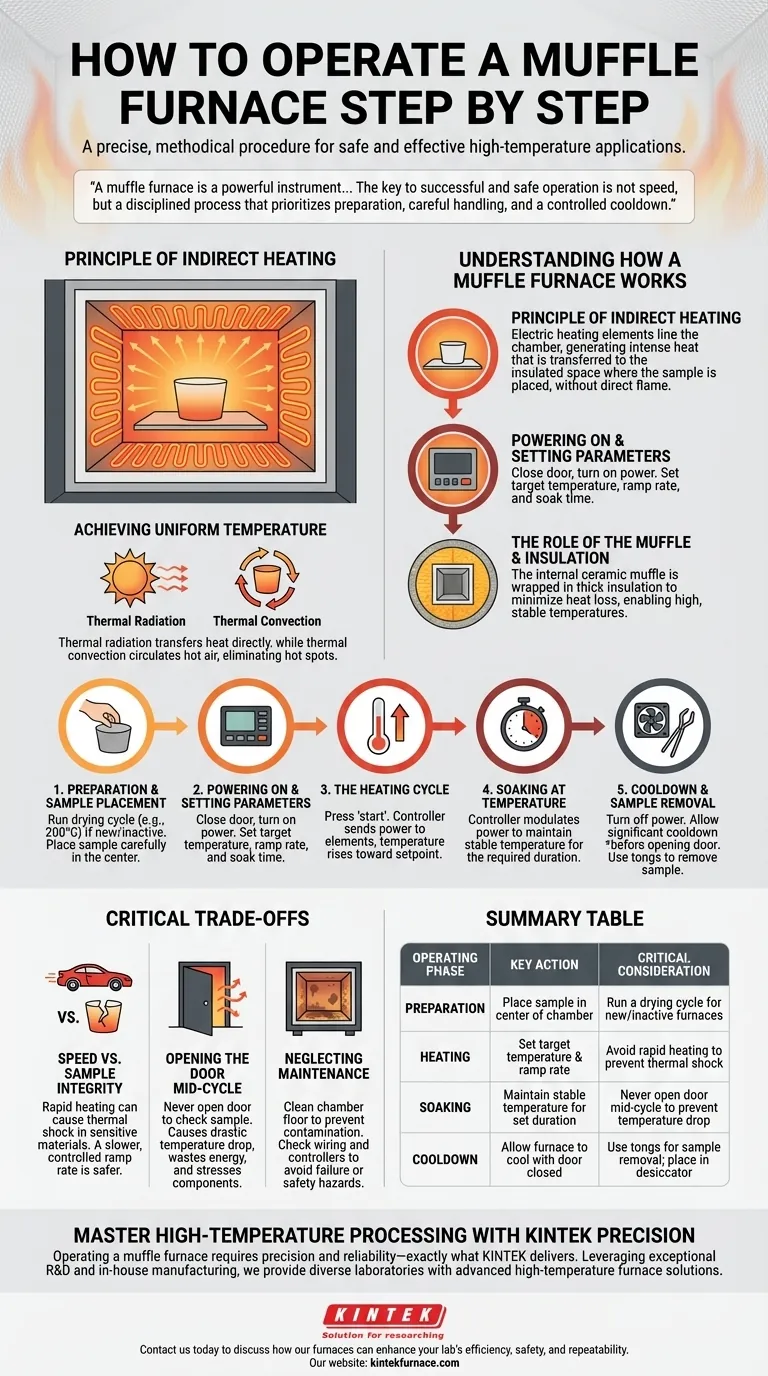
Understanding How a Muffle Furnace Works
To operate the furnace correctly, you must first understand its design. It does not heat your sample directly with a flame.
The Principle of Indirect Heating
A muffle furnace uses electric heating elements, such as nichrome or silicon carbide wires, that line the internal chamber walls. When activated, these elements generate intense heat, which is transferred into the insulated space where the sample is placed.
Achieving Uniform Temperature
The furnace uses two mechanisms to ensure even heating. Thermal radiation transfers heat directly from the hot elements to your sample, while thermal convection circulates the hot air within the chamber. This dual-action process eliminates hot spots and ensures the entire sample reaches a uniform temperature.
The Role of the Muffle and Insulation
The internal chamber, or muffle, is typically made of a high-temperature ceramic. This muffle is wrapped in thick layers of insulation, which minimizes heat loss. This design is what allows the furnace to reach and maintain very high, stable temperatures efficiently.
The Step-by-Step Operating Procedure
Follow these steps for a safe and repeatable outcome. Never deviate from this core process.
Step 1: Preparation and Sample Placement
Before any heating, prepare the furnace. If the furnace is new or has been inactive for a long time, run a drying cycle at a low temperature (e.g., 200°C) for a few hours to remove any absorbed moisture. Once ready, open the furnace door and carefully place your crucible or sample in the center of the chamber.
Step 2: Powering On and Setting Parameters
Close the furnace door securely. Turn on the main power switch. Using the temperature controller, set your target temperature and, if applicable, the desired heating ramp rate and soak time according to your experimental needs.
Step 3: The Heating Cycle
Press the "heat" or "start" button to begin the cycle. The controller will now send power to the heating elements, and the temperature inside the chamber will begin to rise toward your setpoint.
Step 4: Soaking at Temperature
Once the target temperature is reached, the controller will automatically modulate power to the elements. This maintains the temperature with high stability for the duration of your required "soak" time.
Step 5: Cooldown and Sample Removal
After the experiment is complete, turn off the heating elements and the main power switch. Do not open the door immediately. Allow the furnace to cool down significantly. Opening the door while it is hot can cause thermal shock to both the sample and the furnace lining. Once cooled to a safe temperature, use long tongs to carefully remove the hot crucible and place it in a desiccator or on a heat-proof surface to cool to room temperature.
Understanding the Critical Trade-offs
Efficient operation requires understanding the consequences of your choices.
Speed vs. Sample Integrity
While it may be tempting to set a fast ramp rate, this can be destructive. Rapid heating can cause thermal shock in sensitive materials like ceramics or glass, leading to cracks or failure. A slower, more controlled ramp rate is almost always safer.
Opening the Door Mid-Cycle
Never open the furnace door to "check on" a sample unless absolutely necessary. Doing so causes a drastic temperature drop, wastes significant energy, and introduces thermal stress that can shorten the life of the heating elements and furnace insulation.
Neglecting Maintenance
Over time, oxides and residues can build up on the chamber floor. Failing to clean this periodically can lead to contamination of future samples and inhibit efficient heat transfer. Likewise, ignoring wiring or controller checks can lead to equipment failure or a safety hazard.
Making the Right Choice for Your Process
Your specific goal will dictate your focus during operation.
- If your primary focus is ashing or burning off organics: Prioritize a slow initial ramp rate and ensure proper ventilation to handle any fumes or off-gassing from the sample.
- If your primary focus is heat-treating metals: Emphasize the accuracy of the setpoint and the exact duration of the soak time, as these are critical for achieving the desired material properties.
- If your primary focus is materials research: Always run a pre-use drying cycle on the furnace to remove moisture, as this ensures your experimental conditions are as controlled and repeatable as possible.
Mastering the muffle furnace comes from treating it as a precision instrument, where a methodical and patient approach always yields the best results.
Summary Table:
| Operating Phase | Key Action | Critical Consideration |
|---|---|---|
| Preparation | Place sample in center of chamber | Run a drying cycle for new/inactive furnaces |
| Heating | Set target temperature & ramp rate | Avoid rapid heating to prevent thermal shock |
| Soaking | Maintain stable temperature for set duration | Never open door mid-cycle to prevent temperature drop |
| Cooldown | Allow furnace to cool with door closed | Use tongs for sample removal; place in desiccator |
Master High-Temperature Processing with KINTEK Precision
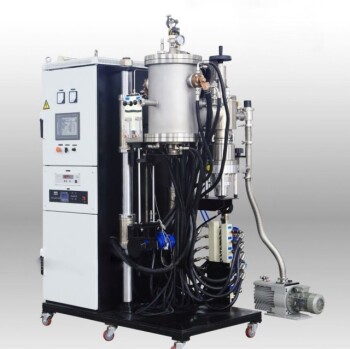
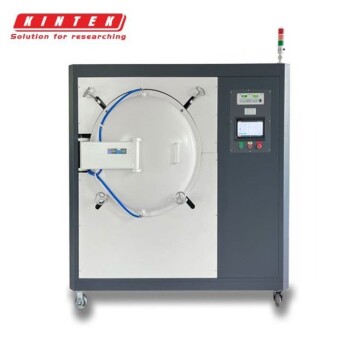
Operating a muffle furnace requires precision and reliability—exactly what KINTEK delivers. Leveraging exceptional R&D and in-house manufacturing, we provide diverse laboratories with advanced high-temperature furnace solutions. Our product line, including Muffle, Tube, Rotary Furnaces, Vacuum & Atmosphere Furnaces, and CVD/PECVD Systems, is complemented by our strong deep customization capability to precisely meet your unique experimental requirements.
Contact us today (#ContactForm) to discuss how our furnaces can enhance your lab's efficiency, safety, and repeatability.
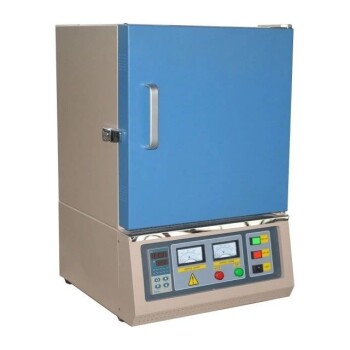
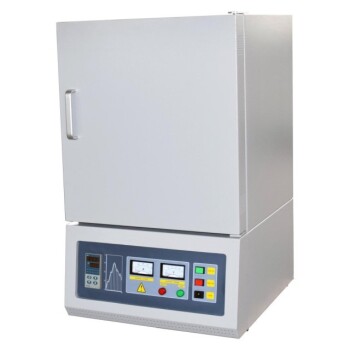
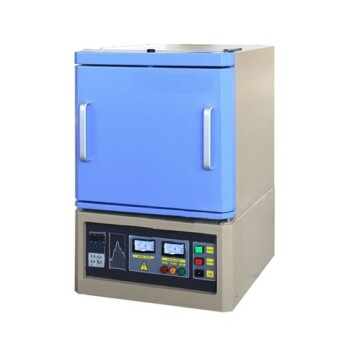
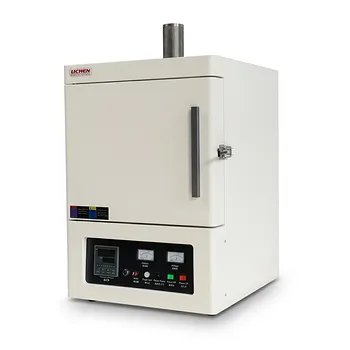
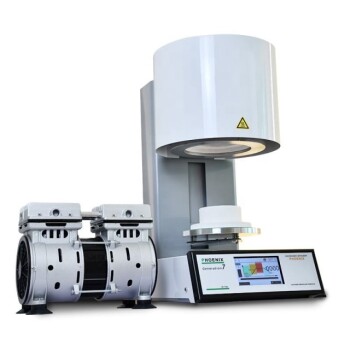
Visual Guide
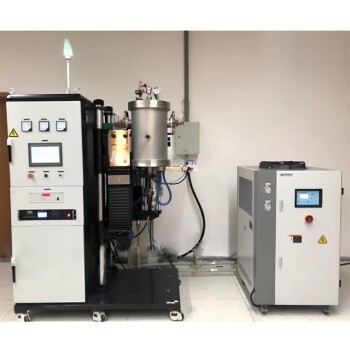
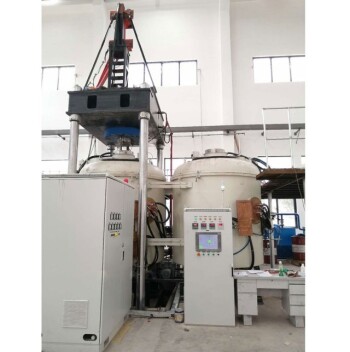
Related Products
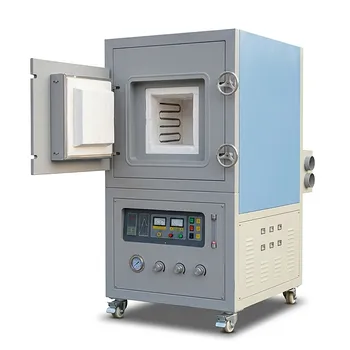
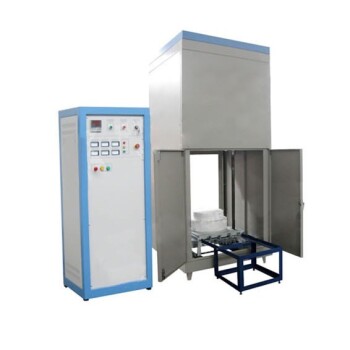
- 1400℃ Muffle Oven Furnace for Laboratory
- 1700℃ High Temperature Muffle Oven Furnace for Laboratory
- 1800℃ High Temperature Muffle Oven Furnace for Laboratory
- 1200℃ Muffle Oven Furnace for Laboratory
- High Temperature Muffle Oven Furnace for Laboratory Debinding and Pre Sintering
People Also Ask
- What is the function of a high-temperature muffle furnace in nano-metakaolin preparation? Master Thermal Activation.
- How is a laboratory high-temperature muffle furnace utilized to achieve the specific crystalline structure of LaFeO3 catalysts?
- How is a laboratory high-temperature muffle furnace utilized in g-C3N4 synthesis? Optimize Your Thermal Polycondensation
- What is the function of a laboratory muffle furnace in lignin determination? Precision Ashing for Biomass Analysis
- What role does a muffle furnace play in refractory bricks? Enhance Performance and Durability Testing