The solidification rate in a Bridgman furnace acts as a master control dial, simultaneously determining the morphology of the growth front and the final chemical homogeneity of the alloy.
Controlling the pull rate directly dictates whether the solid-liquid interface remains planar or breaks down into cellular structures, while a protective nitrogen or inert gas atmosphere prevents melt oxidation and contamination. Together, these two parameters define the solute distribution and microstructural transitions observed during directional alloy growth.
The interplay between solidification rate and thermal gradient governs constitutional supercooling, triggering a transition from planar to cellular growth. Increasing the pull rate pushes the effective solute distribution coefficient toward unity, progressively suppressing segregation. A controlled atmosphere ensures these fundamental mechanisms are not obscured by oxidation or impurity pickup, making the high-temperature tube furnace a precise instrument for alloy solidification research.
The Bridgman Furnace as a Controlled Solidification Environment
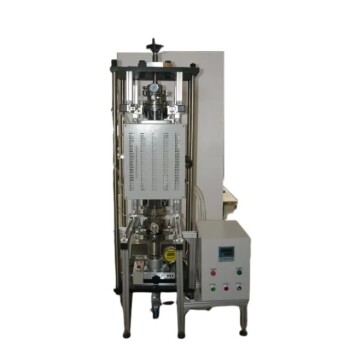
Directional solidification inside a vertical Bridgman furnace offers unmatched precision for studying alloy growth. The key to repeatable results lies in two aspects: a stable thermal gradient and a chemically inert environment around the melt.
The Role of Protective Atmosphere
Operating the furnace under a flowing inert gas such as nitrogen or argon serves one non-negotiable purpose: preventing oxidation of the molten alloy. Even trace oxygen can form oxide inclusions, alter the effective partition coefficients of alloying elements, or change the liquid’s surface tension—all of which corrupt solute distribution data.
Beyond oxidation, a controlled atmosphere also suppresses decarburization or volatilization of reactive species. This is especially critical for steels or superalloys where carbon content dictates phase stability. By maintaining a clean, inert cover, the furnace ensures that the only variables influencing the microstructure are those you deliberately set.
Precise Zone Heating and Thermal Gradients
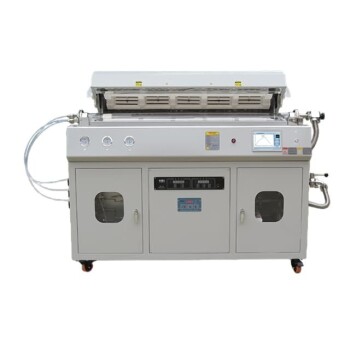
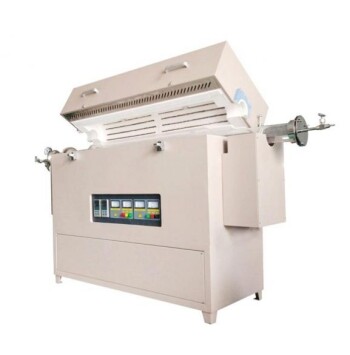
A high-temperature tube furnace with multiple independently controlled heating zones establishes a well-defined axial temperature gradient (G). This gradient, typically a few Kelvin per millimeter, is the template upon which the solid-liquid interface moves. Without a stable, reproducible gradient, the relationship between pull rate and interface stability becomes unpredictable. Modern furnaces lock in these thermal profiles, enabling researchers to isolate the effect of solidification rate with confidence.
Solidification Rate: The Driver of Interface Stability and Solute Redistribution
Once the furnace atmosphere and thermal gradient are stabilized, the solidification rate (R)—controlled by how fast the crucible is withdrawn or the temperature is lowered—becomes the primary experimental knob. It governs two intertwined phenomena: microstructural transitions and solute segregation.
Constitutional Supercooling and the Planar-to-Cellular Transition
At very low solidification rates, the solid-liquid interface remains planar. Solute rejected at the growth front has time to diffuse away into the bulk liquid, preventing any local destabilization. As the pull rate increases, solute accumulates in a boundary layer just ahead of the interface. This locally depresses the liquidus temperature, giving rise to constitutional supercooling—a condition where the actual temperature ahead of the interface drops below the equilibrium freezing temperature of the solute-enriched liquid.
Once constitutional supercooling exceeds a critical threshold, the planar interface becomes unstable. The breakdown follows a characteristic sequence: from smooth front to nodes, then elongated nodes, and finally irregular connected cells. The transition is driven by the interplay of the thermal gradient (G), the solidification rate (R), and the alloy’s constitutional properties. A steeper gradient can partially offset the destabilizing effect of a higher rate, but the onset of cellular growth is ultimately inevitable above certain G/R ratios.
The Effective Distribution Coefficient and Segregation Suppression
During solidification, the instantaneous solute concentration in the solid differs from that in the liquid at the interface. This is captured by the effective distribution coefficient (kₑ). When kₑ is significantly less than 1, solute is continuously rejected, leading to strong macrosegregation along the length of the grown crystal.
Increasing the solidification rate has a direct and measurable consequence: kₑ moves toward 1. At higher rates, the rapid advance of the interface traps more solute into the solid before it can diffuse away, effectively “freezing in” a composition closer to the nominal alloy value. As a result, solute segregation is progressively suppressed. This is a powerful tool for producing directionally solidified components with a uniform chemical profile, provided the microstructural consequences are acceptable.
Understanding the Trade-offs: Planar Growth vs. Homogeneous Composition
The ability to shift kₑ toward unity sounds like a universal improvement, but it comes with a fundamental trade-off. The very same increase in solidification rate that homogenizes composition also destabilizes the growth front.
The Delicate Balance of Rate and Gradient
Experiments that demand a single crystal or a strictly planar interface must operate at low solidification rates and high thermal gradients. In this regime, the interface stays smooth, but solute piles up in the last-to-freeze liquid, resulting in a pronounced segregation profile. Conversely, choosing a rate high enough to approach kₑ ≈ 1 yields a nearly uniform composition, but forces the interface into a cellular or even dendritic morphology. There is no single setting that simultaneously delivers a textbook planar front and perfect compositional homogeneity for alloys with a tendency to segregate.
When Cellular Structures Are Not a Defect
It is a mistake to view cellular growth purely as a failure mode. For many studies on alloy solidification dynamics, the transition from planar to cellular is exactly what researchers want to observe. Controlled atmosphere furnaces that can precisely step the pull rate make it possible to map the exact threshold of constitutional supercooling, measure the wavelength of cellular arrays, and study how convection modifies the pattern. In this context, the furnace is a tool for deliberately engineering a microstructural transition, not avoiding it.
Making the Right Choice for Your Alloy Growth Experiment
Your selection of solidification rate and the corresponding furnace parameters must align with the primary scientific or engineering goal.
- If your primary focus is growing a single crystal with a planar interface: Operate at the lowest practical withdrawal rate while maximizing the thermal gradient. Accept that significant solute segregation will occur unless a post-growth homogenization treatment is planned.
- If your primary focus is compositional uniformity along the solidified ingot: Increase the solidification rate to bring kₑ close to 1. Be prepared for the interface to become cellular, and design your experiment so that the resulting microstructure does not compromise the intended application.
- If your primary focus is studying the dynamics of cellular and dendritic growth: Use a high-temperature tube furnace with precise zone control to systematically vary the pull rate while keeping the inert atmosphere absolutely stable. This isolates the G/R ratio as the only changing variable, yielding clean data on the planar-to-cellular transition.
Mastering the dual control of solidification rate and protective atmosphere turns a high-temperature Bridgman furnace into far more than a melting device—it becomes an instrument that writes the very architecture of an alloy, one atomic layer at a time.
Summary Table:
| Parameter / Control | Physical Mechanism | Microstructural Transition | Solute Distribution Effect |
|---|---|---|---|
| Inert Gas Atmosphere | Prevents melt oxidation & volatile element loss | Maintains phase stability & clean growth front | Prevents baseline drift in partition coefficients |
| Low Solidification Rate (R) | Allows solute diffusion; avoids constitutional supercooling | Maintains stable Planar Interface (ideal for single crystals) | Pronounced macrosegregation ($k_e < 1$) |
| High Solidification Rate (R) | Induces constitutional supercooling ahead of growth front | Interface breaks down into Cellular / Dendritic arrays | Solute trapping suppresses segregation ($k_e \to 1$) |
Take full control over your alloy directional solidification and microstructural engineering with KINTEK. As specialists in advanced laboratory equipment and customizable high-temperature furnaces—including atmosphere, tube, vacuum, muffle, CVD, and induction melting systems—we provide the thermal stability and atmosphere purity your advanced research demands. Elevate your alloy development—contact our technical team today!
Related Products
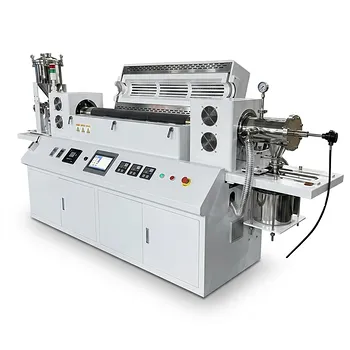
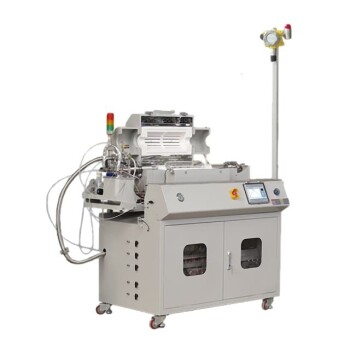
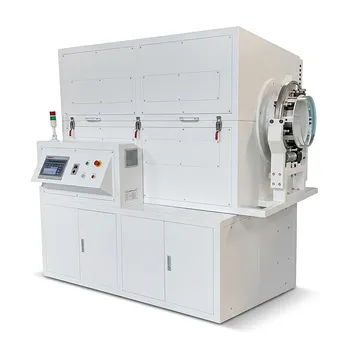
- Vacuum Sealed Continuous Working Rotary Tube Furnace Rotating Tube Furnace
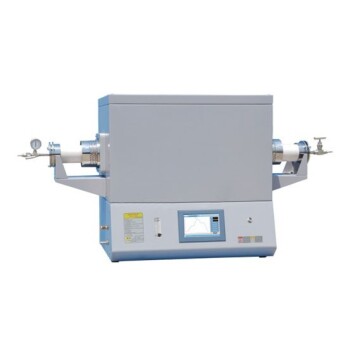
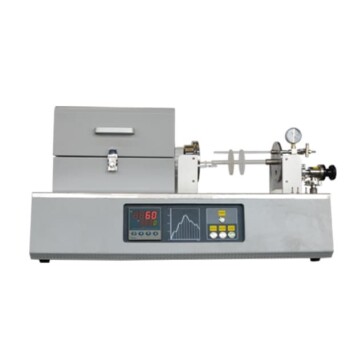
- 1400℃ High Temperature Laboratory Tube Furnace with Alumina Tube
- 1700℃ High Temperature Laboratory Tube Furnace with Alumina Tube
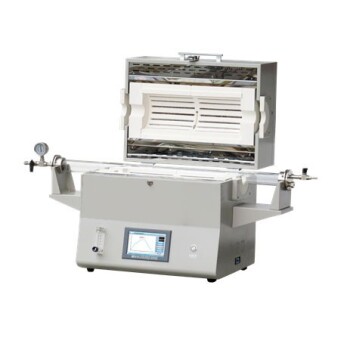
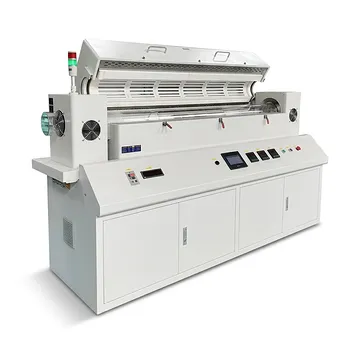
- 1200℃ Split Tube Furnace Laboratory Quartz Tube Furnace with Quartz Tube
- Vertical Laboratory Quartz Tube Furnace Tubular Furnace
People Also Ask
- What is the purpose of rotary tube furnaces? Achieve Uniform Heat Treatment for Powders and Granules
- What are the key advantages of using a rotary tube furnace? Achieve Dynamic, Uniform Heating for Powders
- What are the advantages of rotary tube furnaces in fuel compatibility? Boost Efficiency and Cut Costs
- How does the amount of material processed vary between batch and continuous rotary tube furnaces? Scale Your Production Efficiently
- What is the temperature range of some rotary tube furnaces? Achieve Uniform Heating Up to 1200°C