The Mystery of the Brittle Joint: When Temperature Isn’t Enough
You’ve followed the technical data sheet to the letter. The temperature was set perfectly, the filler metal was premium grade, and the joint clearance was meticulously measured. Yet, when the furnace door opens, the results are disheartening: the filler metal hasn't flowed, the surface looks dull, or worse, the joint snaps under the slightest pressure.
In the world of high-precision laboratory brazing, many researchers and engineers assume that "vacuum is vacuum." They believe that as long as the pump is running, the environment is protected. But if your brazing results are inconsistent, the culprit likely isn't your temperature—it’s the invisible chemistry happening at the molecular level of your vacuum environment.
The Common Struggle: The "More Is Better" Fallacy
When a brazed joint fails to "wet"—the process where the molten filler metal spreads across the base material—the instinctual reaction is often to crank up the vacuum to its absolute limit or increase the soak time.
This "one-size-fits-all" approach to vacuum levels is not just inefficient; it’s often the cause of the failure itself. Forcing a deep, high vacuum on materials that don't require it can lead to the evaporation of high-vapor-pressure elements within your alloys, essentially changing the chemistry of your parts mid-cycle. Conversely, using a "rough" vacuum for high-performance alloys allows microscopic oxide layers to form, creating an impenetrable barrier that prevents the filler metal from bonding.
The result? Scrapped prototypes, wasted expensive alloys, and weeks of project delays while you troubleshoot a problem that feels like a moving target.
The Root Cause: Thermodynamics and the Oxidation Curve

To understand why your joints are failing, we have to look at the Oxidation/Reduction Curve. Every metal has a specific relationship with oxygen. At a certain temperature and pressure, a metal will either remain clean (reduced) or react with trace oxygen to form an oxide.
The goal of vacuum brazing is to create a "reductive" or "neutral" environment where oxides cannot exist. However, the "sweet spot" for this environment changes drastically depending on what you are joining:
- Carbon and Tool Steels: These are relatively forgiving, typically requiring a vacuum level of at least 1 Pa.
- Austenitic Stainless Steel: The chromium in stainless steel is hungry for oxygen. To keep the surface active for brazing, you must achieve at least 0.1 Pa.
- Heat-Resistant Nickel-Base Alloys: These superalloys are incredibly sensitive. To prevent oxidation that kills the joint, you often need a deep vacuum between 0.01 and 0.001 Pa.
If your vacuum level is even slightly off the required threshold for your specific material, the filler metal will simply bead up like water on a waxed car, rather than flowing into the joint via capillary action.
The Solution: Precision-Engineered Atmosphere Control
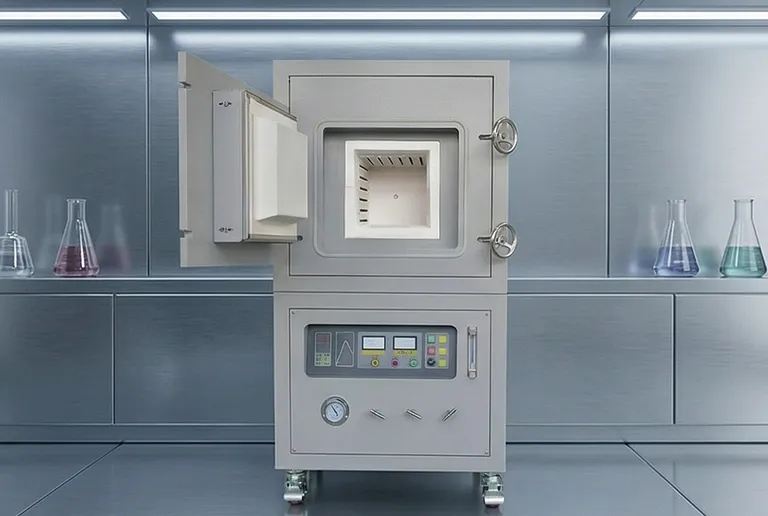
Achieving these specific, repeatable vacuum levels requires more than just a powerful pump; it requires a furnace designed for atmospheric integrity. This is where the engineering behind KINTEK’s high-temperature vacuum furnaces becomes your most valuable laboratory asset.
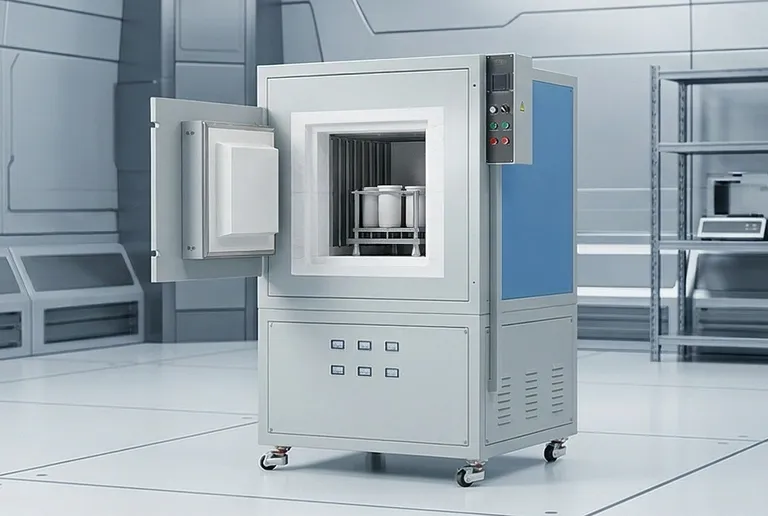
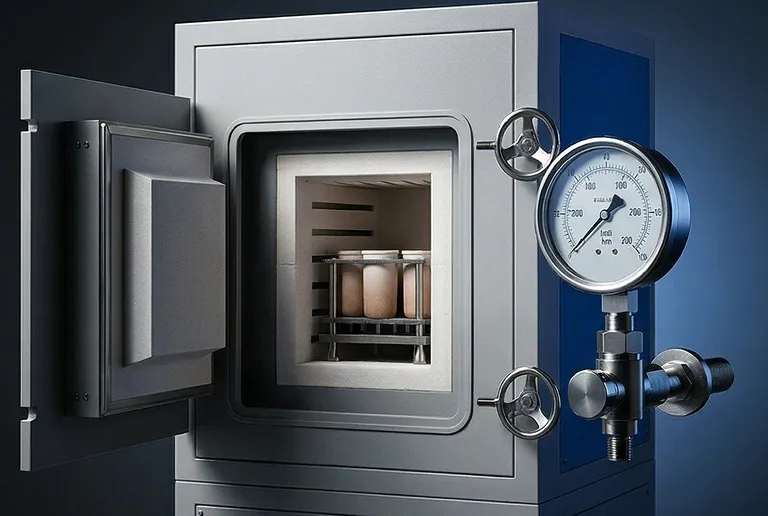
Our furnaces are not merely "ovens"; they are precision instruments built to manage the delicate balance between temperature and pressure. To solve the root cause of brazing failure, our systems offer:
- Customizable Vacuum Thresholds: Whether you are working with tool steel at 1 Pa or nickel superalloys at 0.001 Pa, our control systems allow for the exact pressure adjustments required by your material’s oxidation curve.
- Thermal Cycle Stability: Successful brazing requires tight control over heating and cooling rates to prevent distortion. KINTEK furnaces integrate advanced PID controllers to ensure the thermal cycle matches the vacuum performance perfectly.
- Material Versatility: Designed to handle everything from stainless steel and titanium to the complex joining of metals and ceramics, our vacuum environments are sealed to prevent the "leak-back" rates that plague lower-quality equipment.
Beyond the Fix: Unlocking New Joining Possibilities
When you stop fighting your equipment and start mastering the vacuum environment, the scope of your research expands. Correct vacuum adjustment doesn't just "fix" a broken process—it opens the door to advanced manufacturing techniques.
With precise pressure control, you can reliably join dissimilar materials, such as securing ceramic components to metal housings, a feat that is nearly impossible with traditional welding. You can work with tighter joint clearances (between 0.025 mm and 0.125 mm), resulting in stronger, cleaner assemblies that require zero post-braze machining. By eliminating the "guesswork" of vacuum levels, you accelerate your path from prototype to production, ensuring that every cycle yields a perfect, high-strength bond.
The challenges of modern material science require a partner who understands the physics behind the process. At KINTEK, we provide the high-temperature tools and vacuum expertise to help you solve your toughest joining hurdles, ensuring your laboratory results are as precise as your theories. To discuss your specific material combinations or to find the ideal furnace configuration for your next project, Contact Our Experts.
Related Products
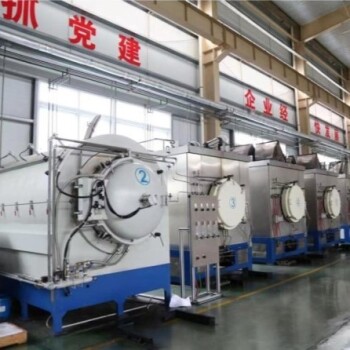
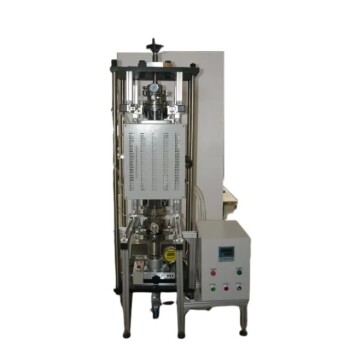
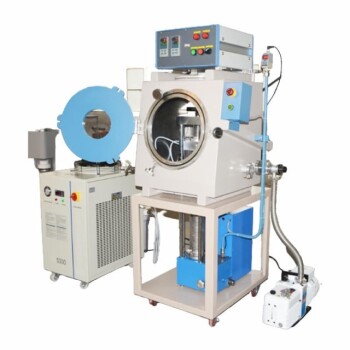
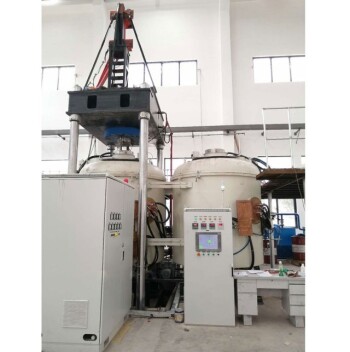
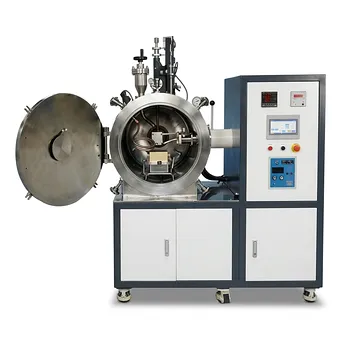
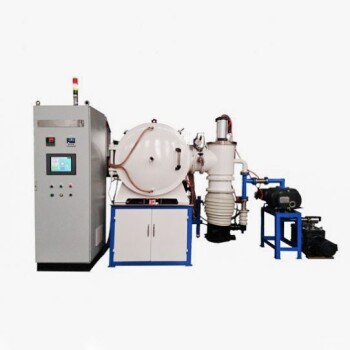
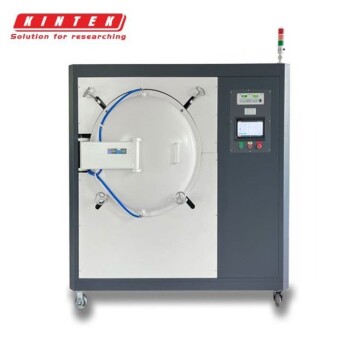
- Vacuum Heat Treat Sintering and Brazing Furnace
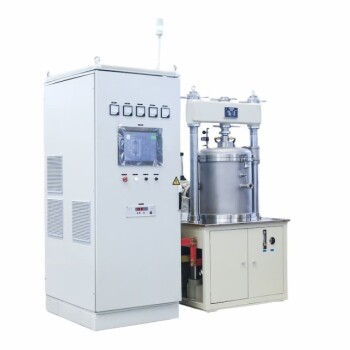
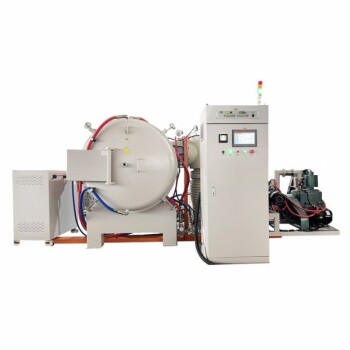
- Vacuum Hot Press Furnace Machine Heated Vacuum Press
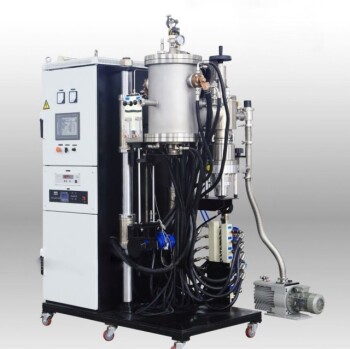
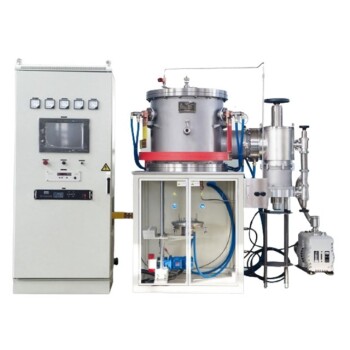
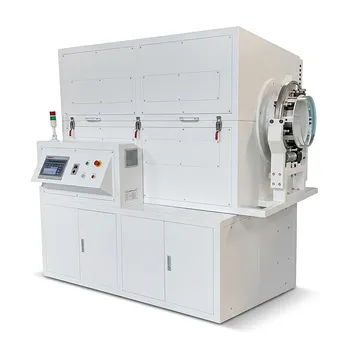
- Small Vacuum Heat Treat and Tungsten Wire Sintering Furnace
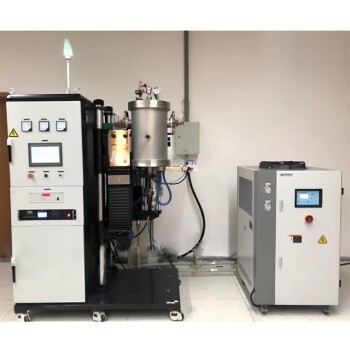
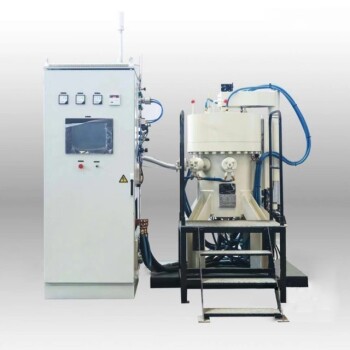
- Vacuum Heat Treat Sintering Furnace Molybdenum Wire Vacuum Sintering Furnace
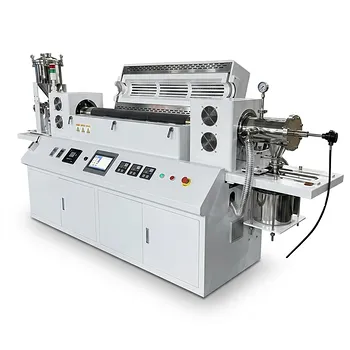
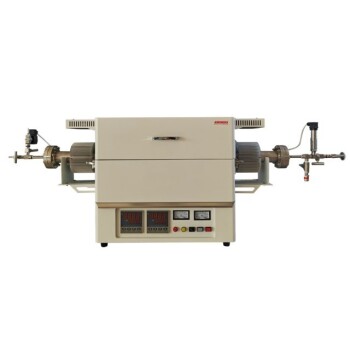
- Vacuum Hot Press Furnace Machine Heated Vacuum Press Tube Furnace
Related Articles
- Why Your High-Temperature Aerospace Joints Fail—and the Science of the Perfect Vacuum Weld
- The Unseen Strength: How Vacuum Furnaces Forge Perfect, Stress-Free Joints
- Why Your Electrochromic Electrodes Fail During Sintering—And How Vacuum Control Restores Transparency
- Why Your 3D-Printed Maraging Steel Parts Aren't Performing—And How to Fix the Structural Weakness
- The Art of Joining in a Void: Why Critical Components Are Forged in Vacuum Furnaces