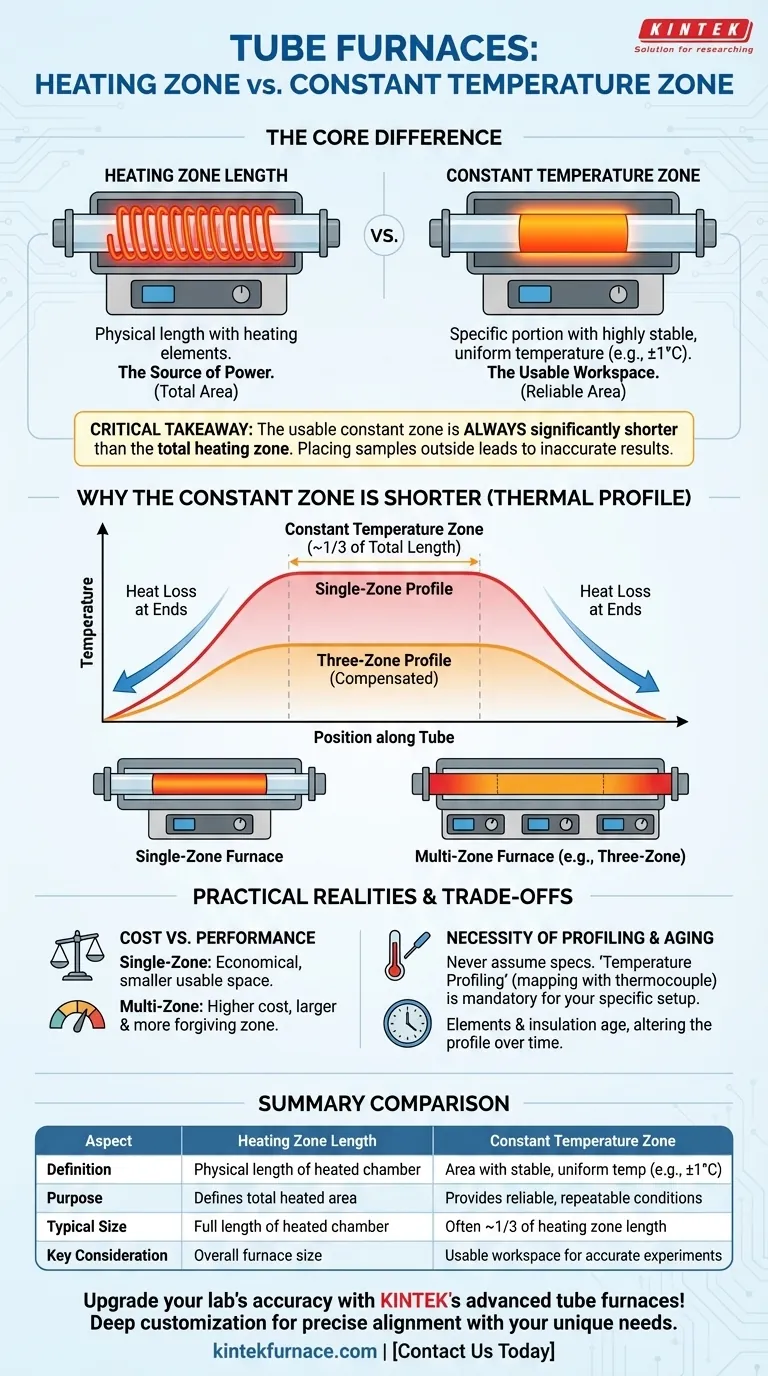
At its core, the heating zone length of a tube furnace is the physical length of the chamber wrapped by heating elements, whereas the constant temperature zone is the specific portion within that heated area where the temperature is highly stable and uniform. The heating zone defines the total area where heat is generated, but only the constant temperature zone provides the reliable and repeatable conditions necessary for scientific and industrial processes.
The critical takeaway is that the usable area for your sample—the constant temperature zone—is always significantly shorter than the furnace's total heated length. Placing your material outside this stable zone will lead to inaccurate thermal processing and unreliable experimental results.
The Anatomy of a Tube Furnace's Thermal Profile
To use a tube furnace effectively, you must understand how heat is distributed within the tube. The specifications for "heating zone" and "constant temperature zone" are the keys to interpreting this thermal map.
The Heating Zone: The Source of Power
The heating zone length is a straightforward physical dimension. It refers to the total length of the furnace tube that is directly surrounded by heating elements, such as Kanthal or silicon carbide coils.
This dimension tells you the overall size of the heated chamber but provides no information about the temperature uniformity within that space.
The Constant Temperature Zone: The Usable Workspace
The constant temperature zone is a performance specification, not a physical one. It defines the length of the tube where the temperature deviates by only a very small, specified amount (e.g., +/- 1°C) from the setpoint.
This is the true "working area" of the furnace. Any sample placed within this zone will experience a consistent and predictable thermal environment, which is crucial for repeatable experiments and quality production.
Why the Constant Zone Is Always Shorter
Heat naturally dissipates from the ends of the furnace tube. This unavoidable heat loss creates a temperature gradient, causing the areas near the tube's openings to be cooler than the center.
As a result, the temperature profile of a simple furnace resembles a shallow bell curve. The constant temperature zone is the relatively flat plateau at the top of this curve, which is often only about one-third of the total heating zone length.
How Furnace Design Shapes the Constant Temperature Zone
Furnace manufacturers use different heating strategies to manage this temperature drop-off, directly impacting the size and quality of the constant temperature zone.
Single-Zone Furnaces: The Classic Bell Curve
A single-zone furnace has one set of heating elements controlled by a single sensor. It is the most common and economical design.
In this configuration, the constant temperature zone is naturally located in the geometric center of the heating zone. The user must carefully place their sample in this central region to achieve uniform heating.
Multi-Zone Furnaces: Extending Uniformity
A three-zone furnace offers far superior temperature uniformity. It has a main central heating zone and two smaller, independently controlled heating zones at each end.
These end zones are programmed to be slightly hotter than the center zone, actively compensating for the natural heat loss. This technique effectively flattens the temperature curve, significantly extending the length of the constant temperature zone across most of the heated length.
Understanding the Trade-offs and Practical Realities
The manufacturer's specifications are an idealized starting point. Real-world performance depends on your setup and requires active verification.
The Cost of Uniformity
The primary trade-off is between cost and performance. A single-zone furnace is simpler and less expensive, but it offers a smaller usable workspace and demands precise sample placement.
A three-zone furnace is more complex and costly but provides a much larger, more forgiving constant temperature zone. This is ideal for processing larger samples, multiple samples, or applications where precise temperature control along a length is critical.
The Necessity of Temperature Profiling
You should never assume the manufacturer's stated constant temperature zone is accurate for your specific process. Factors like gas flow rates, sample size and mass, and the type of process tube used all alter the thermal profile.
Temperature profiling is the process of moving a calibrated thermocouple slowly through the furnace tube to map the exact temperature at every point. This is the only way to definitively identify the boundaries of the true constant temperature zone in your working setup.
Factors That Degrade Performance Over Time
The constant temperature zone is not static throughout the furnace's life. The heating elements will age, and the insulating material (thermal block) can degrade, both of which will alter the thermal profile.
For any process requiring high accuracy, regular temperature profiling is not optional—it is a mandatory part of quality control to ensure consistent results over months and years.
Making the Right Choice for Your Application
Your application's requirements will determine which furnace configuration is most appropriate and how you should operate it.
- If your primary focus is processing small, single samples with maximum cost-efficiency: A single-zone furnace is suitable, but you must precisely map and locate the constant temperature zone before running experiments.
- If your primary focus is processing large samples or multiple samples simultaneously: A three-zone furnace is essential for ensuring all materials experience the same uniform thermal conditions.
- If your primary focus is absolute process accuracy and repeatability: Regular temperature profiling is non-negotiable, regardless of the furnace type, to account for process variables and equipment aging.
By mastering the distinction between the heated length and the usable uniform zone, you can ensure your thermal processing is both accurate and repeatable.
Summary Table:
| Aspect | Heating Zone Length | Constant Temperature Zone |
|---|---|---|
| Definition | Physical length of chamber with heating elements | Area with stable, uniform temperature (e.g., +/- 1°C deviation) |
| Purpose | Defines total heated area | Provides reliable, repeatable conditions for samples |
| Typical Size | Full length of heated chamber | Often about one-third of heating zone length |
| Key Consideration | Overall furnace size | Usable workspace for accurate experiments |
Upgrade your lab's thermal processing with KINTEK's advanced tube furnaces! Leveraging exceptional R&D and in-house manufacturing, we provide diverse laboratories with high-temperature solutions like Tube Furnaces, Muffle Furnaces, Rotary Furnaces, Vacuum & Atmosphere Furnaces, and CVD/PECVD Systems. Our strong deep customization capability ensures precise alignment with your unique experimental needs, enhancing accuracy and repeatability. Contact us today to discuss how our furnaces can optimize your constant temperature zone and boost efficiency!
Visual Guide
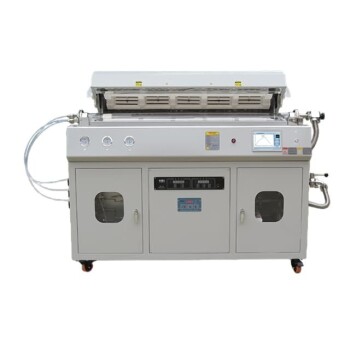
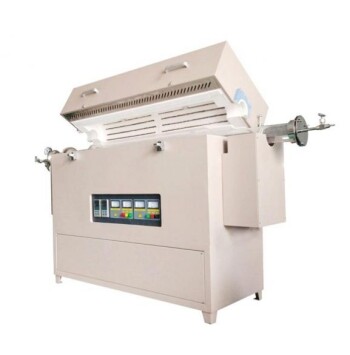
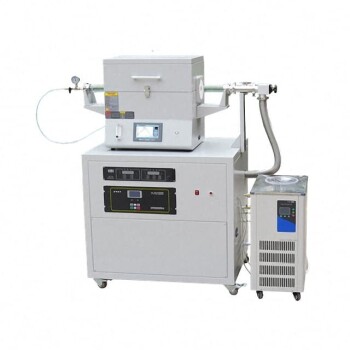
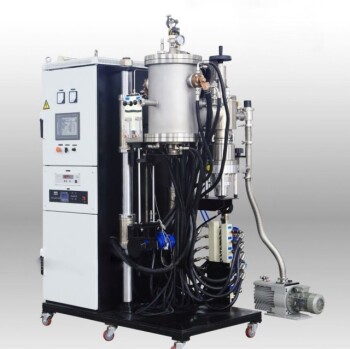
Related Products
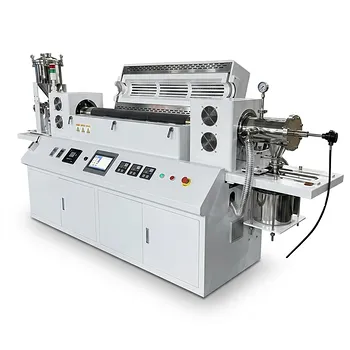
- Vacuum Sealed Continuous Working Rotary Tube Furnace Rotating Tube Furnace
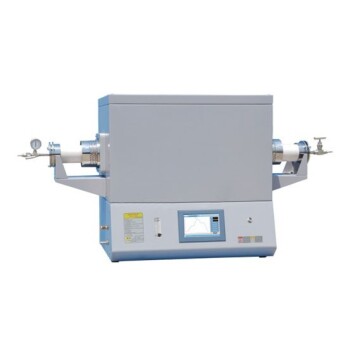
- 1400℃ High Temperature Laboratory Tube Furnace with Alumina Tube
- 1700℃ High Temperature Laboratory Tube Furnace with Alumina Tube
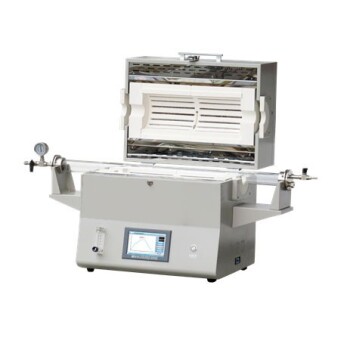
- 1200℃ Split Tube Furnace Laboratory Quartz Tube Furnace with Quartz Tube
- Vertical Laboratory Quartz Tube Furnace Tubular Furnace
People Also Ask
- What optional features enhance the processing capabilities of rotary tube furnaces? Boost Efficiency with Advanced Customizations
- When are rotary tube furnaces not suitable for a process? Avoid Costly Mistakes in Thermal Processing
- What are the main components of a rotary tube furnace? Unlock Efficient Thermal Processing for Your Lab
- What are the key advantages of using a rotary tube furnace? Achieve Dynamic, Uniform Heating for Powders
- What is the temperature range of some rotary tube furnaces? Achieve Uniform Heating Up to 1200°C