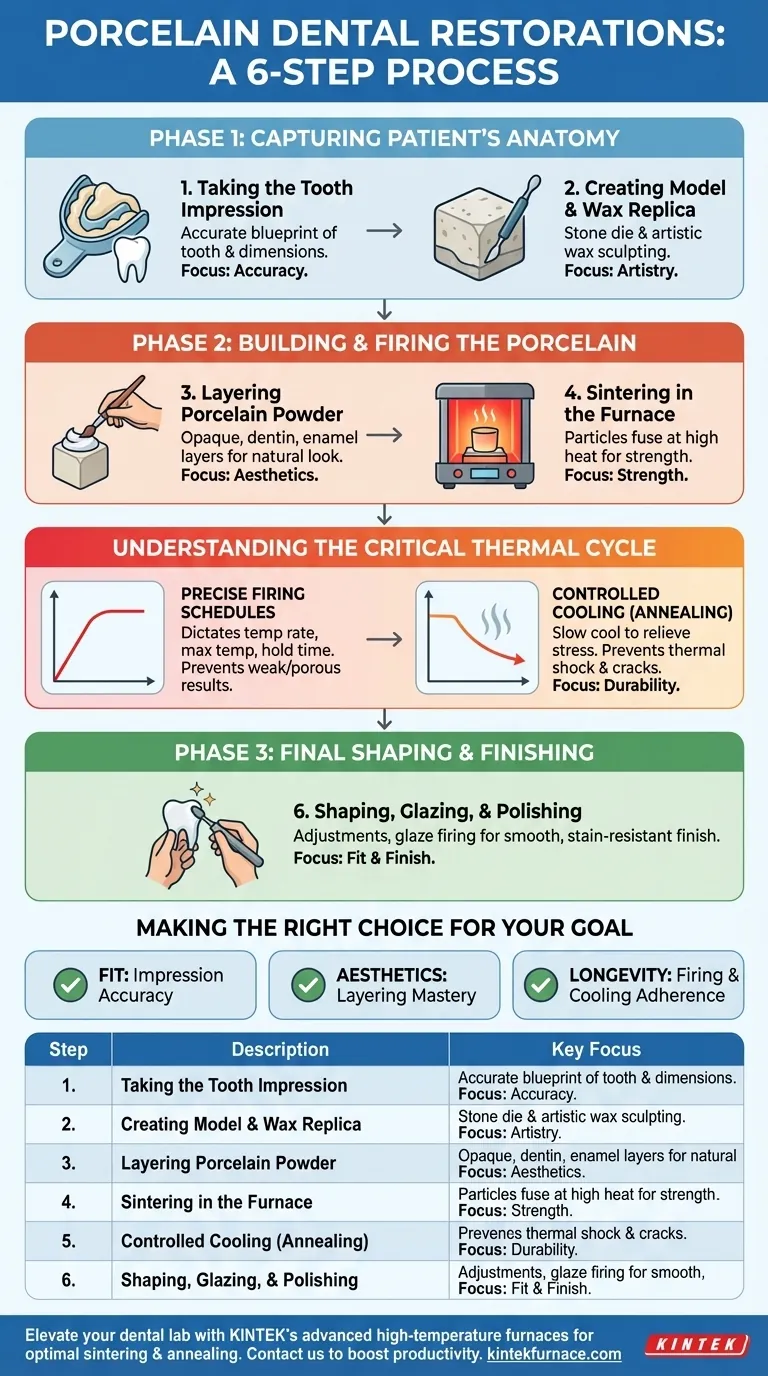
The creation of a porcelain dental restoration is a meticulous process that combines clinical precision with laboratory artistry. The fundamental steps involve taking a precise impression of the tooth, building up the restoration in wax and then porcelain, firing it in a specialized furnace to harden it, and finally finishing it to achieve a perfect fit and natural appearance.
While often seen as a simple sequence, the process is actually a controlled transformation of raw materials into a highly durable, biocompatible structure. The success of the entire endeavor hinges on two key areas: the accuracy of the initial dental impression and the precise thermal management during the firing and cooling stages.
Phase 1: Capturing the Patient's Anatomy
The entire process begins and ends with the patient's unique dental structure. Creating a perfect replica is the non-negotiable first phase.
Step 1: Taking the Tooth Impression
This is the foundational blueprint. A highly accurate impression of the prepared tooth, as well as the opposing and adjacent teeth, is taken by the dentist.
This impression captures the exact dimensions, margin lines, and spatial relationships required for the lab to create a restoration that fits perfectly and functions correctly. An error here will cascade through every subsequent step.
Step 2: Creating the Model and Wax Replica
The impression is sent to a dental laboratory, where it is used to create a stone model called a die. This die is an exact positive replica of the patient's prepared tooth.
A skilled technician then sculpts a replica of the final restoration out of wax directly onto this die. This "wax-up" step is where the final shape, size, and chewing surface of the tooth are artistically defined.
Phase 2: Building and Firing the Porcelain
This phase transitions from physical models to the chemical and thermal transformation of the porcelain itself.
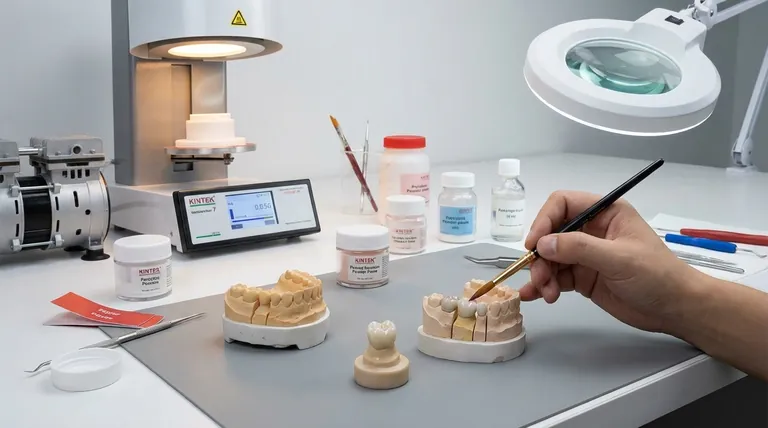
Step 3: Layering the Porcelain Powder
The wax replica is used to create a mold or, more commonly, serves as a guide for directly layering the porcelain. A technician mixes fine porcelain powder with a special liquid to create a paste.
This paste is applied in layers to the die. Different shades and opacities of porcelain are used—an opaque layer to block out the color of the underlying tooth structure, a dentin layer for the main body color, and a translucent enamel layer for the incisal edge—to mimic the appearance of a natural tooth.
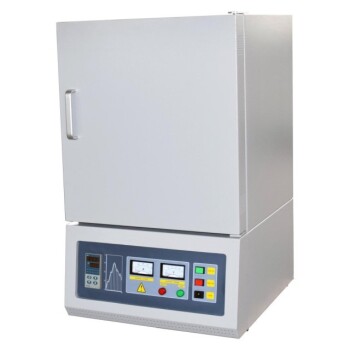
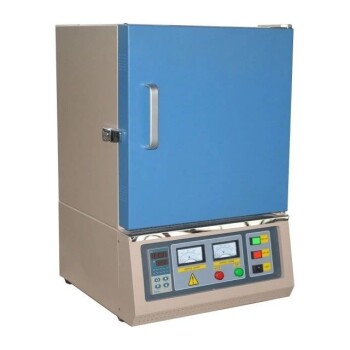
Step 4: Sintering in the Furnace
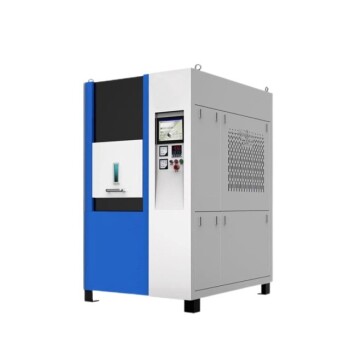
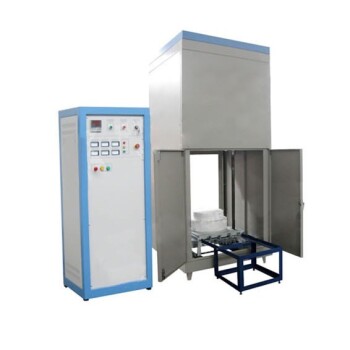
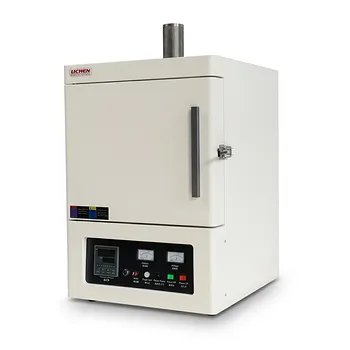
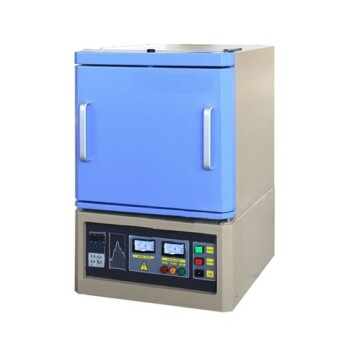
This is the most critical step for the material's strength. The layered porcelain restoration is placed into a computer-controlled dental furnace.
The furnace heats the porcelain to a specific temperature, which is just below its melting point. This process, called sintering, causes the individual porcelain particles to fuse together, dramatically increasing the material's density and strength.
Understanding the Critical Thermal Cycle
The furnace is not just an oven; it is a precision instrument that dictates the final properties of the restoration.
The Importance of Firing Schedules
Every type of dental porcelain has a specific, manufacturer-recommended firing schedule. This dictates the rate of temperature increase, the maximum temperature, and how long it is held at that peak.
Deviating from this schedule can result in a restoration that is porous, weak, improperly shrunk (leading to a poor fit), or has an incorrect shade.
Step 5: Controlled Cooling (Annealing)
After sintering, the restoration cannot simply be removed from the heat. It must be cooled slowly and precisely according to the schedule.
This controlled cooling, or annealing, allows internal stresses that built up during the high-heat firing to be relieved. Rapid cooling would cause thermal shock, creating micro-cracks that would make the restoration brittle and prone to fracture in the patient's mouth.
Phase 3: Final Shaping and Finishing
The final phase ensures the restoration is not only strong but also beautiful, comfortable, and hygienic.
Step 6: Shaping, Glazing, and Polishing
After cooling, the technician makes final adjustments to the shape and bite using fine diamond burs.
The restoration is then often coated with a thin layer of glaze and put through a final, lower-temperature firing. This glaze firing creates a very smooth, high-gloss, and stain-resistant surface that mimics the luster of natural tooth enamel. Any final polishing ensures a perfect marginal fit and comfortable feel.
Making the Right Choice for Your Goal
To achieve a successful outcome, it's essential to understand where to focus your attention.
- If your primary focus is a perfect fit: The accuracy of the initial impression and the resulting stone die is the most critical factor.
- If your primary focus is aesthetics: Mastery lies in the multi-layering of different porcelain powders and the final characterization with stains and glaze.
- If your primary focus is longevity and strength: Absolute adherence to the manufacturer's firing and cooling schedule during sintering and annealing is paramount.
Understanding these core principles transforms the process from a simple checklist into a predictable method for creating exceptional clinical outcomes.
Summary Table:
| Step | Description | Key Focus |
|---|---|---|
| 1. Tooth Impression | Capture precise tooth dimensions and relationships for a perfect fit. | Accuracy |
| 2. Model and Wax Replica | Create a stone die and sculpt a wax model to define the restoration's shape. | Artistry |
| 3. Layering Porcelain | Apply opaque, dentin, and enamel layers to mimic natural tooth appearance. | Aesthetics |
| 4. Sintering in Furnace | Fuse porcelain particles at high temperature for increased strength and density. | Strength |
| 5. Controlled Cooling | Slowly cool to relieve internal stresses and prevent brittleness. | Durability |
| 6. Shaping, Glazing, Polishing | Final adjustments and glaze firing for a smooth, stain-resistant finish. | Fit and Finish |
Elevate your dental lab's capabilities with KINTEK's advanced high-temperature furnace solutions. Our precision-engineered Muffle, Tube, Rotary, Vacuum & Atmosphere Furnaces, and CVD/PECVD Systems, backed by deep customization, ensure optimal sintering and annealing for durable, aesthetically perfect porcelain restorations. Contact us today to discuss how we can tailor our solutions to your unique experimental needs and boost your productivity!
Visual Guide
Related Products
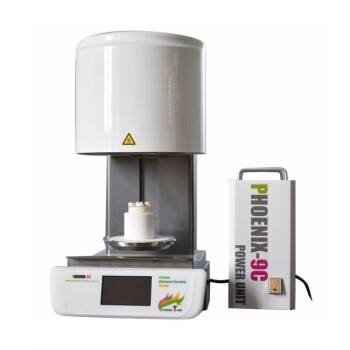
- Chairside Dental Porcelain Zirconia Sintering Furnace with Transformer for Ceramic Restorations
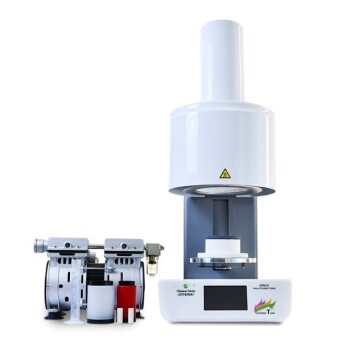
- Dental Porcelain Zirconia Sintering Ceramic Vacuum Press Furnace
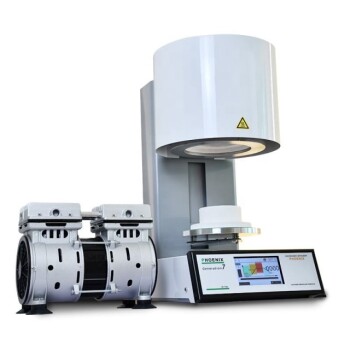
- Vacuum Dental Porcelain Sintering Furnace for Dental Laboratories
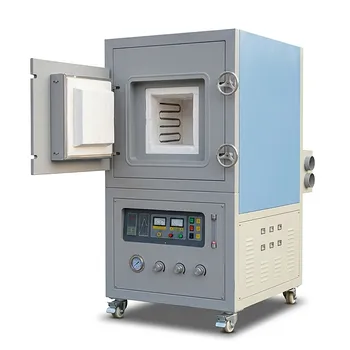
- High Temperature Muffle Oven Furnace for Laboratory Debinding and Pre Sintering
- Spark Plasma Sintering SPS Furnace
People Also Ask
- What are the key components of a zirconia sintering furnace? Unlock Precision for Superior Dental Restorations
- What industries use zirconia sintering furnaces? Beyond Dental and Jewelry Applications
- What safety precautions should be taken when using a zirconia sintering furnace? Ensure Operator Safety and Equipment Longevity
- What advantages do zirconia sintering furnaces provide for dental restorations? Boost Strength, Aesthetics, and Lab Efficiency
- What special furnaces are required for zirconia sintering? Essential High-Temp Solutions for Dental Labs