Operating a vacuum press is a precise, five-step process that ensures perfect bonding and forming. The core sequence involves preparing and enclosing your materials in a sealed environment, evacuating all the air to create a vacuum, allowing atmospheric pressure to act on the workpiece, and finally, letting the project cure before release. This method guarantees uniform pressure across the entire surface, something unattainable with traditional clamps.
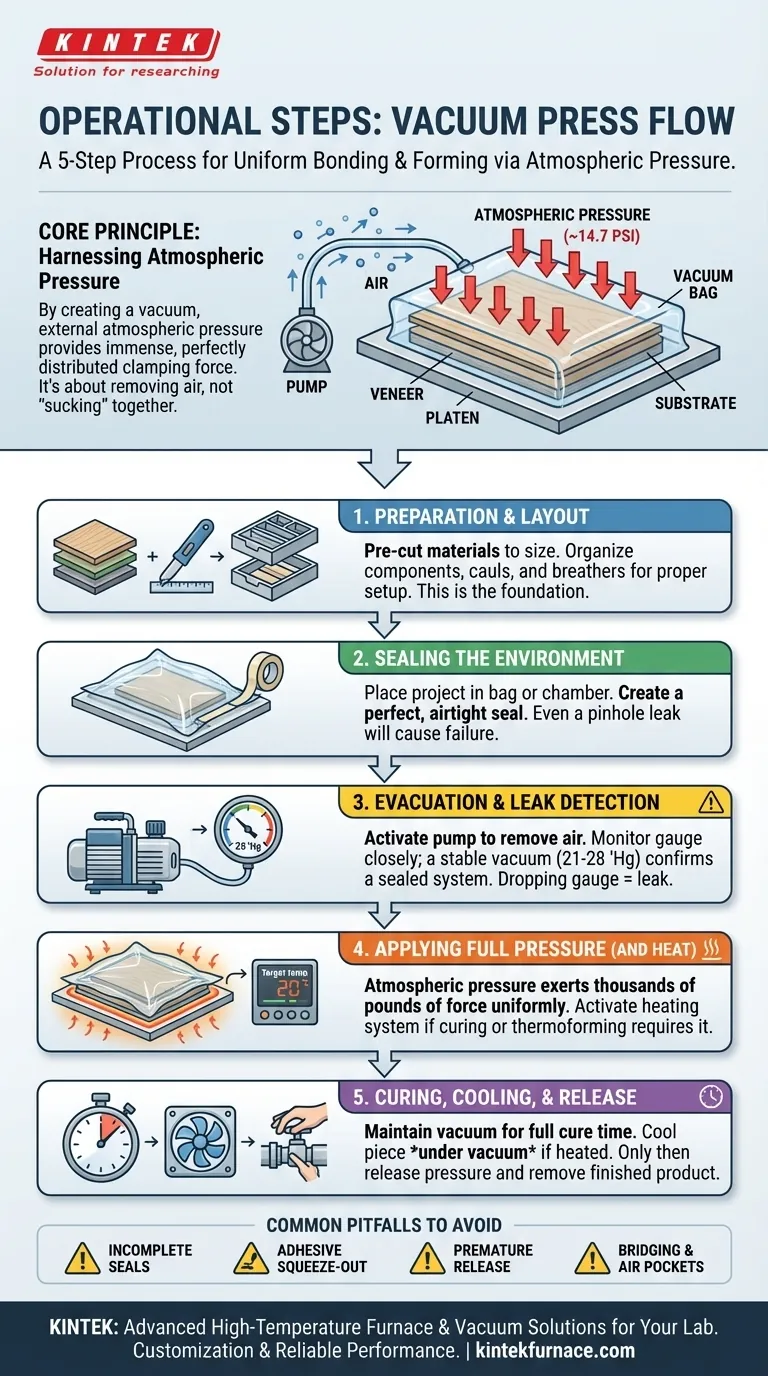
The central principle of vacuum pressing is not about actively applying force, but about removing air. By creating a vacuum, you allow the immense, consistent weight of the Earth's atmosphere to provide uniform clamping pressure for flawless results.
The Core Principle: Harnessing Atmospheric Pressure
Before detailing the steps, it's critical to understand how a vacuum press works. It does not "suck" components together.
Instead, the vacuum pump removes air molecules from inside a sealed bag or chamber. This creates a significant pressure differential between the inside (near-zero pressure) and the outside (standard atmospheric pressure).
At sea level, atmospheric pressure is approximately 14.7 pounds per square inch (PSI). By removing the air inside the bag, you allow this external atmospheric pressure to press down evenly on every square inch of your project. This is the source of the immense and perfectly distributed clamping force.
A Step-by-Step Breakdown of the Process
Each step in the vacuum pressing cycle is critical for a successful outcome. Skipping or rushing any one of them can lead to failure.
Step 1: Preparation and Layout
This is the foundation of your project. Before anything enters the bag, ensure all components are properly prepared.
This includes cutting veneers or laminates to size, preparing the substrate, and organizing any necessary items like cauls or breather mesh to aid in air removal on complex shapes.
Step 2: Sealing the Environment
Your project is placed inside the vacuum bag or chamber. The success of the entire operation hinges on a perfect, airtight seal.
Using special sealing tape, the opening of the bag is meticulously closed. Even a pinhole leak will prevent the system from achieving a full vacuum and compromise the press.
Step 3: Evacuation and Leak Detection
Once sealed, the vacuum generator (pump) is connected and turned on. It begins removing the air from the bag.
This is the most critical diagnostic phase. Watch the vacuum gauge closely. A healthy system will pull a strong vacuum (typically 21-28 "Hg, or inches of mercury) and hold it steady after the pump is turned off. If the gauge value drops, you have a leak that must be found and fixed.
Step 4: Applying Full Pressure (and Heat)
With a stable vacuum achieved, the "clamping" is now active. Atmospheric pressure is exerting thousands of pounds of force uniformly across your workpiece.
For applications requiring heat, such as curing certain resins or thermoforming, the integrated heating system is activated. The control systems ensure that both vacuum level and temperature remain at the target for the required duration.
Step 5: Curing, Cooling, and Release
The project must remain under vacuum for the entire duration of the adhesive's recommended cure time. Releasing the pressure prematurely will result in a weak or failed bond.
If heat was used, a cooling cycle is necessary. The piece must cool down while still under vacuum to prevent the materials from warping or "springing back" as they lose heat. Only after the cure is complete and the part is cool can the vacuum be released and the finished product removed.
Common Pitfalls and How to Avoid Them
Understanding potential failures is as important as knowing the correct steps. Nearly all problems can be traced back to a handful of common errors.
Incomplete Seals and Leaks
This is the number one cause of failure. Always double-check your seal before walking away. A dropping vacuum gauge is an immediate signal to find and patch the leak.
Adhesive Squeeze-Out
Excessive adhesive can be forced out under pressure, potentially gluing your project to the vacuum bag itself. Use a non-stick breather or bleeder cloth between your project and the bag to absorb excess adhesive and aid airflow.
Releasing Vacuum Too Soon
Adhesives need time to reach their full bond strength. Ending the vacuum cycle before the manufacturer's recommended cure time is complete will result in delamination and a weak final product.
Bridging and Air Pockets
On complex, curved, or sharp-cornered projects, the bag can "bridge" over concave areas, trapping air. Use foam or scrap material to create gentler curves, and ensure breather mesh allows a path for air to be evacuated from these potential pockets.
Making the Right Choice for Your Goal
Your specific project dictates which parts of the process to emphasize.
- If your primary focus is wood veneering or lamination: Ensure even adhesive application and allow the piece to cure for the full recommended time under a stable vacuum.
- If your primary focus is forming composites (e.g., fiberglass, carbon fiber): Stress the importance of using bleeder and breather materials to manage excess resin and ensure full saturation without air voids.
- If your primary focus is thermoforming plastics: Highlight the critical role of precise temperature control from the heating system, applied only after a full, stable vacuum has been achieved.
By mastering these fundamental steps, you transform the vacuum press from a simple tool into a precision instrument for flawless fabrication.
Summary Table:
| Step | Key Action | Purpose |
|---|---|---|
| 1 | Preparation and Layout | Ensure materials are cut and organized for proper setup |
| 2 | Sealing the Environment | Create an airtight seal in the vacuum bag or chamber |
| 3 | Evacuation and Leak Detection | Remove air and monitor for leaks to achieve stable vacuum |
| 4 | Applying Full Pressure (and Heat) | Use atmospheric pressure for uniform clamping; apply heat if needed |
| 5 | Curing, Cooling, and Release | Allow adhesive to cure fully, cool under vacuum, then release |
Ready to achieve flawless results with a vacuum press? At KINTEK, we leverage exceptional R&D and in-house manufacturing to provide advanced high-temperature furnace solutions tailored for your lab. Our product line includes Muffle, Tube, Rotary Furnaces, Vacuum & Atmosphere Furnaces, and CVD/PECVD Systems, all backed by strong deep customization capabilities to precisely meet your unique experimental needs. Whether you're in woodworking, composites, or thermoforming, our expertise ensures reliable performance and efficiency. Contact us today to discuss how we can support your projects with precision and innovation!
Visual Guide
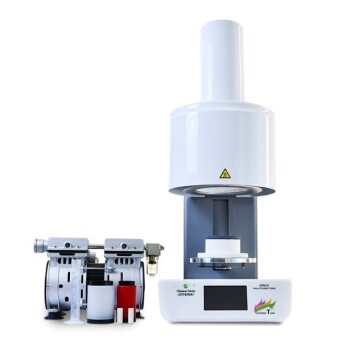
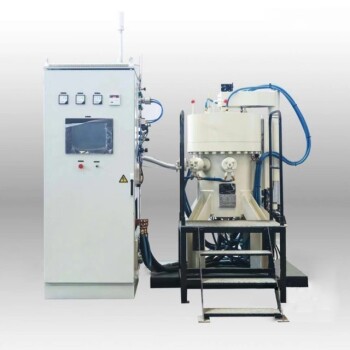
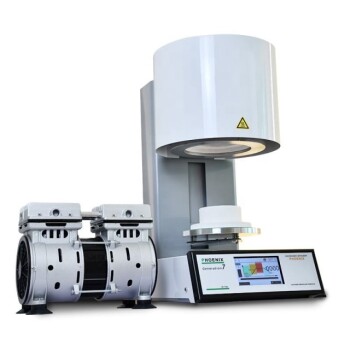
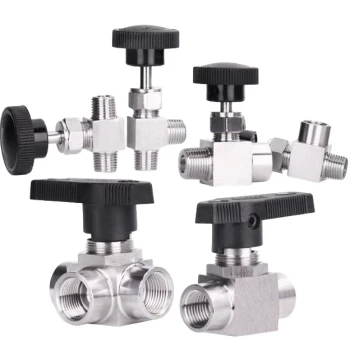
Related Products
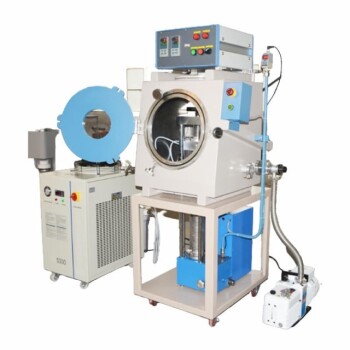
- Vacuum Hot Press Furnace Machine for Lamination and Heating
- Vacuum Hot Press Furnace Machine Heated Vacuum Press
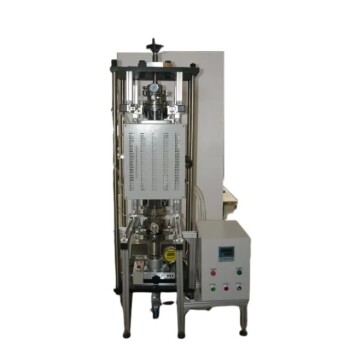
- Vacuum Hot Press Furnace Machine Heated Vacuum Press Tube Furnace
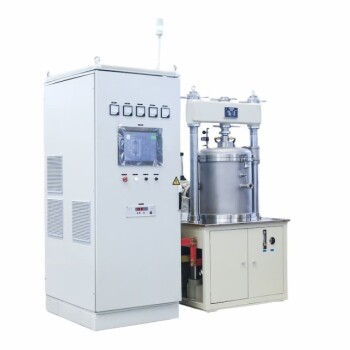
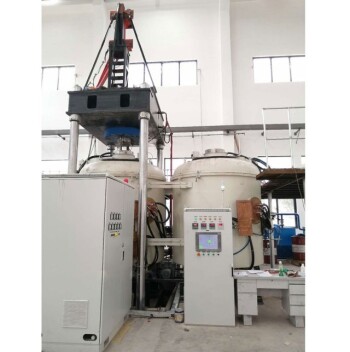
- 600T Vacuum Induction Hot Press Vacuum Heat Treat and Sintering Furnace
- Dental Porcelain Zirconia Sintering Ceramic Vacuum Press Furnace
People Also Ask
- What are the primary components of a vacuum hot press furnace? Master the Core Systems for Precise Material Processing
- Why is a high vacuum environment crucial when preparing copper-carbon nanotube composites in a vacuum hot press furnace? Achieve Superior Composite Integrity
- What is the significance of the vacuum environment for sintering stainless steel? Unlock High-Density Purity
- What is the primary function of the vacuum environment in a vacuum hot press furnace during titanium alloy processing? Prevent Embrittlement for Superior Ductility
- What safety features are incorporated in vacuum hot press furnaces? Ensure Operator and Equipment Protection