For a typical three-zone split tube furnace, the continuous operating temperature for each zone depends entirely on the specific model of the furnace. The specifications you've encountered—1600°C, 1350°C, and 1150°C—represent the capabilities of three different models, not a selectable range on a single machine. Each of the three zones within a given model shares the same temperature capability.
The multiple temperature values (1600°C/1350°C/1150°C) do not refer to different settings on one furnace. Instead, they specify the continuous operating limit for different furnace models, which are distinguished by the type of heating elements they use.
Decoding the Temperature Specifications
A three-zone furnace provides superior temperature control, but understanding its specifications is crucial. The numbers represent fundamental design choices, not user settings.
Why Are There Three Different Temperatures?
The listed continuous temperatures—1600°C, 1350°C, and 1150°C—correspond to different models of the furnace.
Each model is built with specific heating elements designed for a certain temperature range. A furnace rated for 1600°C uses different, more robust elements than one rated for 1150°C. You must select the model that matches your required operating temperature.
The Role of Heating Elements
The furnace's temperature rating is directly tied to its heating elements.
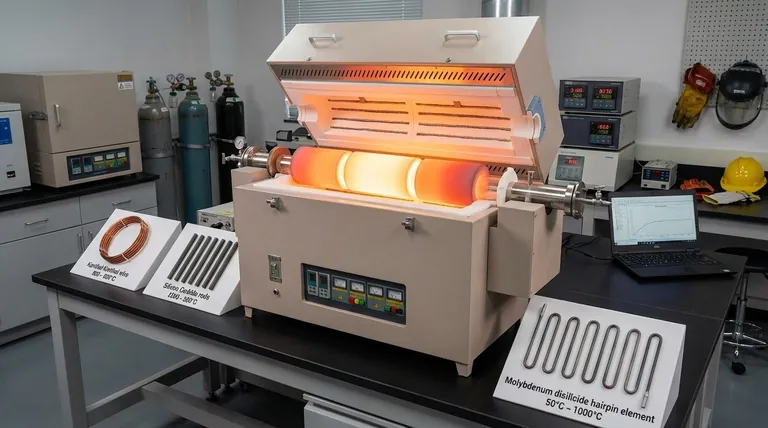
- High Temperature (1600°C): Models capable of these temperatures typically use Molybdenum Disilicide (MoSi₂) elements.
- Mid-Range Temperature (1350°C): These models often use Silicon Carbide (SiC) elements.
- Lower Temperature (1150°C): These furnaces commonly employ Kanthal (FeCrAl) wire elements.
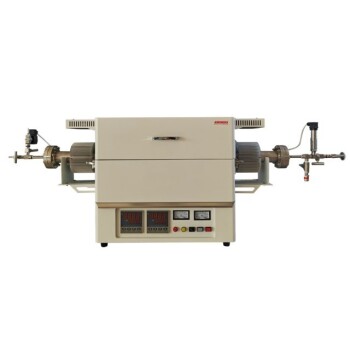
Purpose of a Three-Zone System
The "three-zone" design means the furnace tube is heated by three separate, independently controlled sections. This allows you to create a very long and highly uniform hot zone in the center or to establish a precise temperature gradient along the tube for specialized processes.
Understanding the Trade-offs: Continuous vs. Maximum Temperature
The distinction between "continuous" and "maximum" temperature is critical for the longevity of your equipment.
Continuous Operating Temperature
This is the highest temperature at which the furnace can be operated for prolonged periods without causing accelerated wear or damage to the heating elements and insulation. For reliable, day-to-day work, you should not exceed this temperature.
The continuous temperatures for the different models are:
- Model A: 1600°C
- Model B: 1350°C
- Model C: 1150°C
Maximum Temperature
This is a higher, short-term limit that the furnace can reach for brief periods (e.g., less than an hour, depending on the manufacturer). Consistently operating at or near the maximum temperature will drastically shorten the lifespan of the heating elements.
The corresponding maximum temperatures are:
- Model A: 1700°C
- Model B: 1400°C
- Model C: 1200°C
Temperature Accuracy
The specification of ±1°C accuracy indicates high precision. It means the actual temperature inside the furnace will be within one degree Celsius of the temperature you set on the controller, ensuring your process is repeatable and reliable.
Making the Right Choice for Your Application
Selecting the correct furnace model is essential for achieving your research or production goals without damaging the equipment.
- If your primary focus is high-temperature crystal growth or ceramic sintering (>1500°C): You must select the model rated for 1600°C continuous operation.
- If your primary focus is general heat treatment, annealing, or calcination (1100°C - 1300°C): The 1350°C model offers a robust and versatile solution for a wide range of applications.
- If your primary focus is drying, bonding, or other low-temperature processes (<1100°C): The 1150°C model is the most energy-efficient and cost-effective choice for your needs.
Choosing the furnace model based on your required continuous operating temperature ensures both successful results and maximum equipment lifespan.
Summary Table:
| Model | Continuous Temperature | Maximum Temperature | Heating Element Type |
|---|---|---|---|
| A | 1600°C | 1700°C | Molybdenum Disilicide (MoSi₂) |
| B | 1350°C | 1400°C | Silicon Carbide (SiC) |
| C | 1150°C | 1200°C | Kanthal (FeCrAl) |
Need a high-temperature furnace tailored to your lab's unique needs? KINTEK leverages exceptional R&D and in-house manufacturing to provide advanced solutions like Muffle, Tube, Rotary, Vacuum & Atmosphere Furnaces, and CVD/PECVD Systems. With strong deep customization capabilities, we ensure precise performance for applications from crystal growth to annealing. Contact us today to discuss how our furnaces can enhance your efficiency and results!
Visual Guide

Related Products
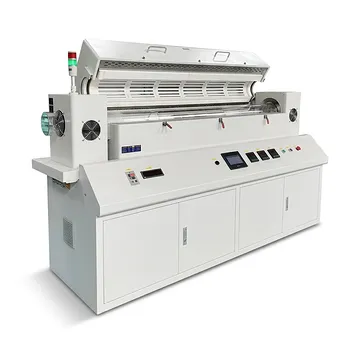
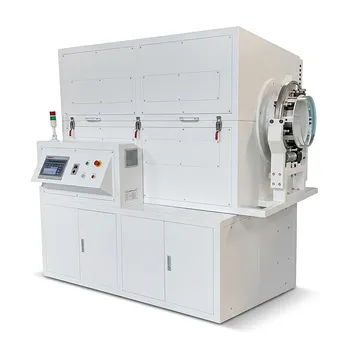
- Split Multi Heating Zone Rotary Tube Furnace Rotating Tube Furnace
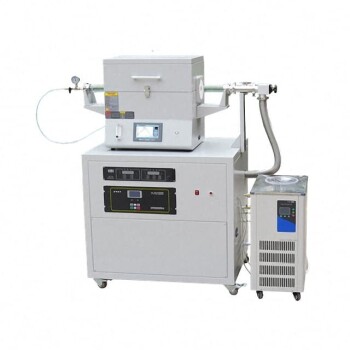
- Split Chamber CVD Tube Furnace with Vacuum Station CVD Machine
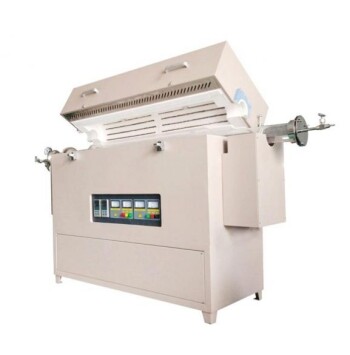
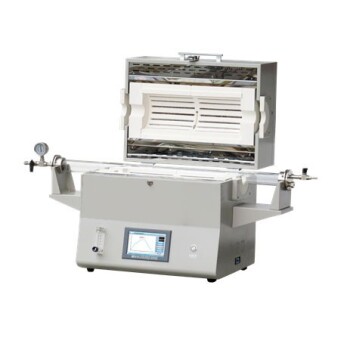
- 1200℃ Split Tube Furnace Laboratory Quartz Tube Furnace with Quartz Tube
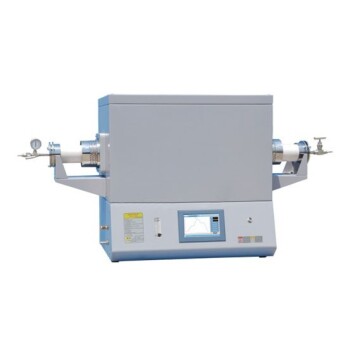
- Multi Zone Laboratory Quartz Tube Furnace Tubular Furnace
- Multi Heating Zones CVD Tube Furnace Machine for Chemical Vapor Deposition Equipment
People Also Ask
- Why are multi zone tube furnaces particularly useful for nanomaterial research? Unlock Precise Thermal Control for Advanced Synthesis
- What role do multi zone tube furnaces play in new energy research? Unlock Precise Thermal Control for Innovation
- What are the advantages of multi-zone tube furnaces? Achieve Superior Thermal Control for Advanced Materials Processing
- How are multi zone tube furnaces used in ceramics, metallurgy and glass research? Unlock Precise Thermal Control for Advanced Materials
- How do multi zone tube furnaces contribute to materials science research? Unlock Precise Temperature Control for Advanced Synthesis