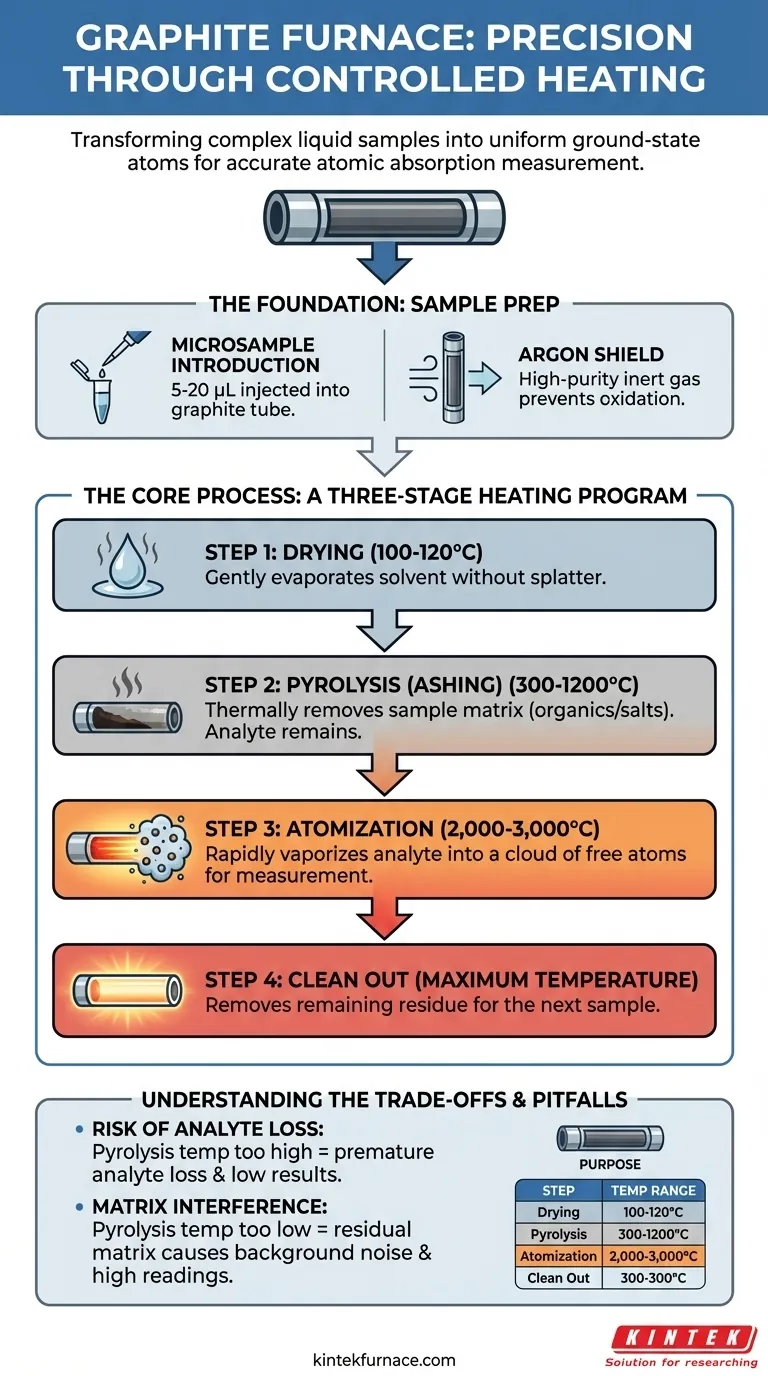
In short, the graphite furnace uses a precise, multi-stage heating program to prepare a sample for analysis. This process involves a drying step to evaporate the solvent, a pyrolysis (or ashing) step to remove the sample matrix, and a final, high-temperature atomization step to create a cloud of free atoms for measurement.
The core purpose of the graphite furnace program is not simply to heat the sample, but to systematically transform a complex liquid sample into a transient, uniform cloud of ground-state atoms, which is the only state in which atomic absorption can be accurately measured.
The Foundation: Sample Preparation Inside the Furnace
Before the heating program begins, the sample must be correctly placed into a controlled environment. This initial setup is critical for a successful analysis.
The Microsample Introduction
A very small, precise volume of the liquid sample, typically between 5 and 20 microliters, is injected into the graphite tube. This is done through a small opening using a highly accurate micropipette or autosampler.
The Argon Shield
The entire furnace is continuously purged with a flow of high-purity inert gas, almost always argon. This gas shield is critical because it prevents the hot graphite tube and the sample residue from combusting (oxidizing) in the presence of air.
The Core Process: A Three-Stage Heating Program
Once the sample is in place, the instrument executes a pre-programmed temperature sequence. Each stage has a distinct purpose.
Step 1: Drying
The furnace is gently heated to a temperature slightly above the boiling point of the solvent, usually around 100-120°C. The goal is to slowly evaporate the liquid solvent without boiling it so violently that it splatters and causes sample loss.
Step 2: Pyrolysis (Ashing)
Next, the temperature is ramped up significantly, often to several hundred degrees Celsius (e.g., 300-1200°C). This step, known as pyrolysis, is designed to thermally decompose and remove the sample matrix—the organic matter, salts, and other components you don't want to measure. This leaves behind only the more thermally stable analyte, cleaning the sample prior to the final measurement.
Step 3: Atomization
This is the measurement step. The furnace is heated as rapidly as possible to a very high temperature, typically between 2,000 and 3,000°C. This intense heat instantly vaporizes the remaining analyte residue into a dense cloud of free, neutral, ground-state atoms within the graphite tube. A beam of light passes through this atom cloud, and the instrument measures the amount of light absorbed.
Step 4: Clean Out
After atomization, the furnace is heated to its maximum temperature for a few seconds. This final, high-temperature step ensures that any remaining residue is vaporized and removed from the graphite tube, preparing it for the next sample.
Understanding the Trade-offs and Pitfalls
The success of the analysis hinges on optimizing the temperature and timing of each step. An improperly designed program is a primary source of error.
The Risk of Analyte Loss
The most significant challenge is setting the pyrolysis temperature. It must be high enough to remove the matrix but not so high that it vaporizes your target analyte prematurely. Losing the analyte before the atomization step will lead to an artificially low and inaccurate result.
The Problem of Matrix Interference
If the pyrolysis temperature is too low, components of the matrix may remain in the furnace. These can create smoke or background signals during the atomization step, absorbing light and causing a falsely high reading, known as a non-atomic background signal.
The Impact of Heating Rates
The speed at which the furnace heats (the ramp rate) is also critical. A slow drying ramp prevents splatter, while a very fast atomization ramp ensures all atoms appear in the light path at once, creating a sharp, tall, and easily measured peak.
How to Apply This to Your Analysis
Your approach to the furnace program depends on your analytical goal.
- If your primary focus is developing a new method: You must carefully perform an optimization study, varying the pyrolysis and atomization temperatures to find the ideal conditions that maximize the analyte signal while minimizing the background signal.
- If your primary focus is running a standard, validated method: Your goal is consistency. Ensure the autosampler is dispensing correctly, the argon flow is stable, and the graphite tube is not nearing the end of its life, as these factors impact heating efficiency.
- If your primary focus is troubleshooting poor results: First, investigate the pyrolysis step. Analyte loss from a temperature set too high or background interference from a temperature set too low are the most common problems.
Mastering the graphite furnace program is about managing a series of controlled transformations to isolate your element of interest.
Summary Table:
| Step | Purpose | Typical Temperature Range |
|---|---|---|
| 1. Drying | Evaporates the solvent without splattering | 100-120°C |
| 2. Pyrolysis (Ashing) | Removes the sample matrix (organic/salts) | 300-1200°C |
| 3. Atomization | Vaporizes the analyte into free atoms for measurement | 2,000-3,000°C |
| 4. Clean Out | Removes any residue to prepare for the next sample | Maximum Temperature |
Achieve Unmatched Precision in Your Laboratory
Does your research demand the highest level of accuracy in trace element analysis? The controlled, multi-stage heating process of a graphite furnace is critical for reliable results.
At KINTEK, we leverage our exceptional R&D and in-house manufacturing to provide advanced high-temperature furnace solutions for diverse laboratories. Our product line, including Tube Furnaces, Vacuum & Atmosphere Furnaces, and CVD/PECVD Systems, is complemented by our strong deep customization capability to precisely meet your unique experimental requirements.
Contact us today to discuss how our expertise can help you optimize your furnace program and enhance your analytical capabilities. Reach out to our experts now!
Visual Guide
Related Products
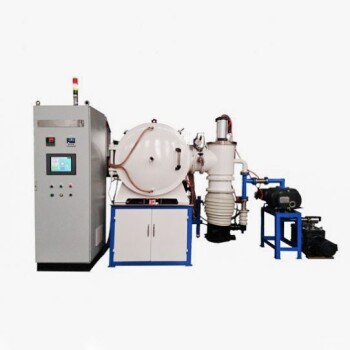
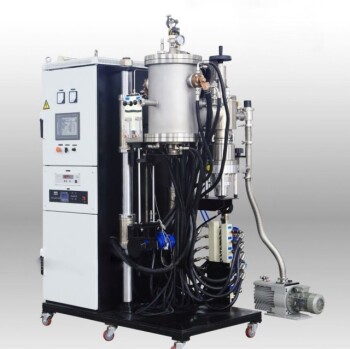
- 2200 ℃ Graphite Vacuum Heat Treat Furnace
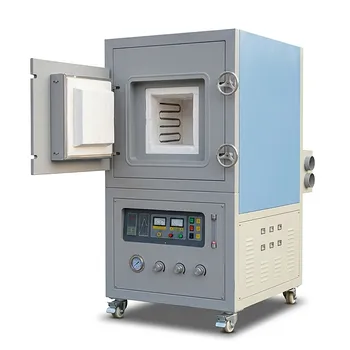
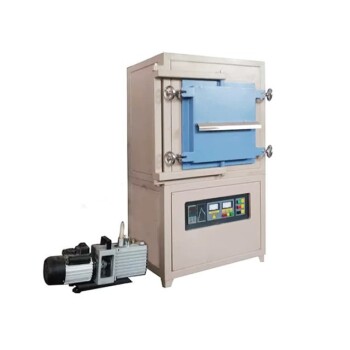
- High Temperature Muffle Oven Furnace for Laboratory Debinding and Pre Sintering
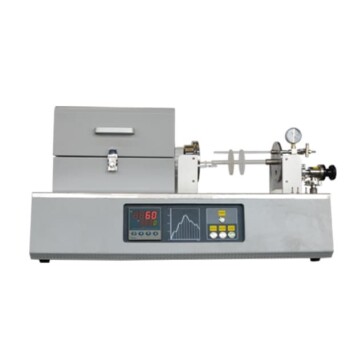
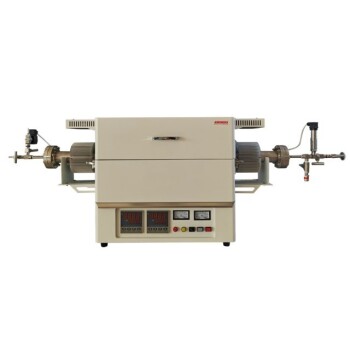
- Laboratory Quartz Tube Furnace RTP Heating Tubular Furnace
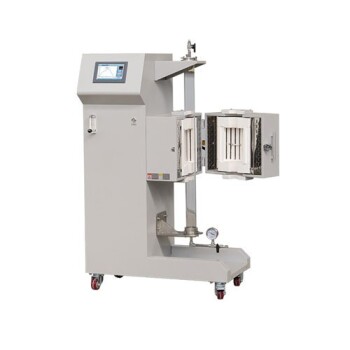
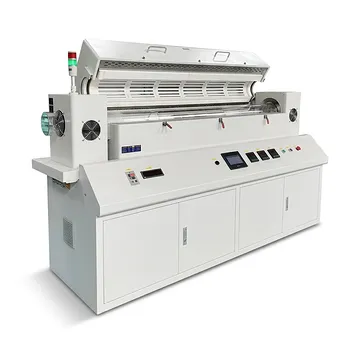
- Vertical Laboratory Quartz Tube Furnace Tubular Furnace
- Vacuum Dental Porcelain Sintering Furnace for Dental Laboratories
People Also Ask
- What are the advantages of using a vacuum heat treatment furnace? Achieve Superior Material Quality and Control
- What is the process of vacuum heat treating? Achieve Superior Metallurgical Properties
- What is the primary application of vacuum heat treating furnaces in aerospace? Enhance Component Performance with Precision
- Why are vacuum heat treating furnaces essential for aerospace? Ensure Superior Material Integrity for High-Stakes Applications
- How does a vacuum heat treating furnace improve the condition of metal alloys? Achieve Superior Metal Performance