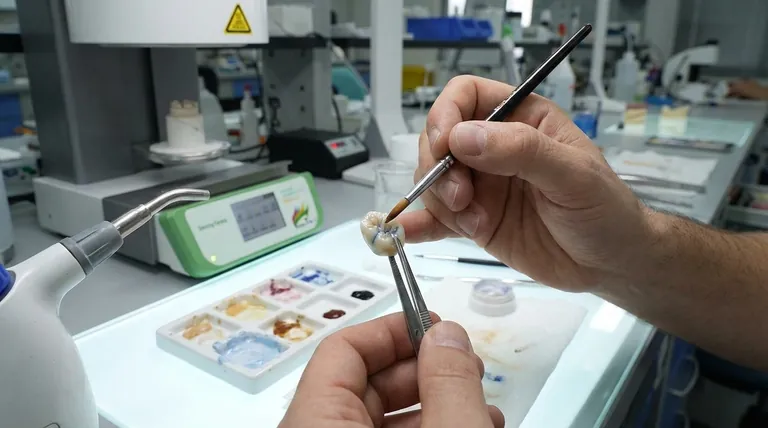
The core process of individualizing a restoration involves cleaning the ceramic, applying an even layer of glaze paste, and then strategically placing stains into the unfired glaze to mimic natural tooth characteristics before a final firing. This transforms a monolithic block of ceramic into a restoration that seamlessly integrates with the patient's existing dentition.
The goal is not merely to create a shiny surface, but to replicate the subtle color shifts, translucency, and surface textures found in natural teeth. Think of the glaze as a transparent canvas upon which you paint the illusion of life.
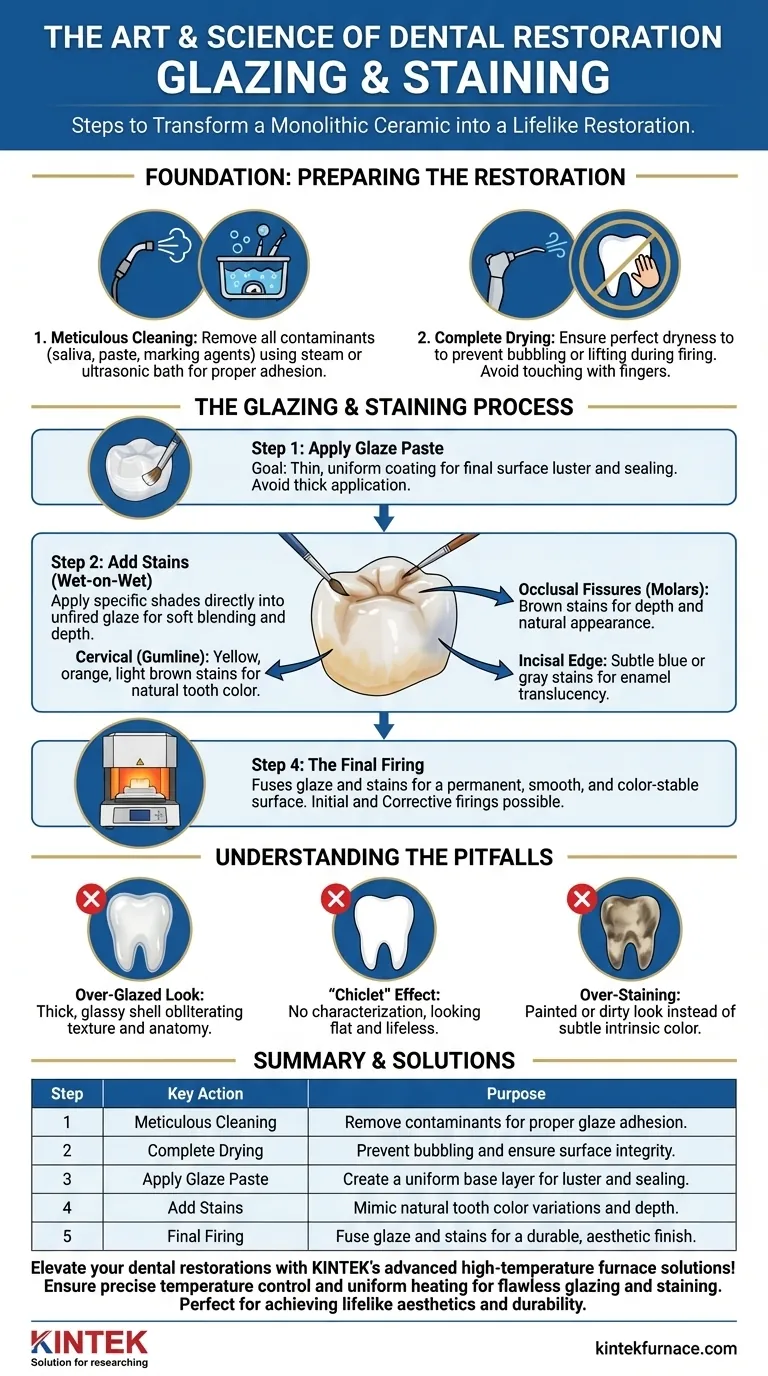
## Foundation: Preparing the Restoration
The success of the final restoration is built upon a flawlessly prepared surface. Any contaminants left from the try-in phase will interfere with the glaze and stain, leading to defects.
### Step 1: Meticulous Cleaning
After the intraoral try-in, the restoration is coated in saliva, and potentially try-in paste or marking agents. These must be completely removed.
Use a steam cleaner or an ultrasonic bath with a designated cleaning solution. This ensures all organic and inorganic debris is eliminated from the surface and any intricate milled anatomy.
### Step 2: Complete Drying
The restoration must be perfectly dry before any materials are applied. Any moisture will cause the glaze to bubble or lift during the firing process, resulting in a porous, weak surface.
Use a clean, oil-free air syringe to thoroughly dry the restoration. Avoid touching the surface with your fingers from this point forward, as skin oils can act as a contaminant.
## The Glazing & Staining Process
This is a two-part technique where you first create the base layer (glaze) and then add the individual characteristics (stains). The key is to work with the materials while they are wet, allowing them to fuse together.
### Step 1: Applying the Glaze Paste
The glaze paste provides the final surface luster and seals the ceramic. The goal is a thin, uniform coating.
Mix the glaze paste to a smooth, creamy consistency. Apply it evenly across the entire surface of the restoration. If the glaze is too thick, it will pool in the anatomy, obscuring detail and potentially altering the bite. If it's too thin, the surface will not be properly sealed.
### Step 2: Adding Characterization with Stains
This is where artistry meets science. Stains are used to replicate the specific color details of the adjacent teeth.
You will apply specific shades and stains directly into the unfired glaze layer. This "wet-on-wet" technique allows the colors to blend softly and fuse with the glaze during firing, creating a sense of depth.
### Step 3: Strategic Stain Placement
Think about where color variations occur in natural teeth.
- Cervical (Gumline): Apply yellow, orange, or light brown stains to mimic the thinner enamel and underlying dentin color common in this area.
- Occlusal Fissures (Molars): Use a fine-tipped brush to apply brown stains into the grooves to create depth and a natural appearance.
- Incisal Edge (Front Teeth): Subtle application of blue or gray stains can replicate the effect of enamel translucency.
Always use stains sparingly. It is far easier to add more color in a corrective firing than it is to remove color that is too intense. If a stain is too concentrated, it can be thinned slightly, but ensure it maintains a workable, pasty consistency.
## Understanding the Pitfalls
Achieving a natural result requires avoiding common errors that lead to an artificial look. Understanding these trade-offs is critical for mastering the process.
### The Over-Glazed Look
Applying glaze too heavily is a frequent mistake. This results in a thick, glassy shell that obliterates the carefully milled surface texture and anatomy. The restoration will look artificial and will not reflect light like a natural tooth.
### The "Chiclet" Effect
A restoration with no characterization looks flat and lifeless—like a white Chiclet. Failing to add subtle color variations, especially at the cervical and incisal areas, is a missed opportunity to integrate the crown seamlessly.
### Over-Staining
Enthusiasm can lead to applying too much stain. This creates a "painted" or "dirty" look rather than a subtle, intrinsic coloration. The goal is to suggest color from within the tooth, not paint it on the surface.
## The Final Firing
The firing cycle is what fuses the glaze and stains, making them a permanent part of the restoration.
### The Initial Firing
Place the restoration on a firing tray and run the appropriate program in your porcelain furnace. The heat melts the glaze particles, causing them to flow together and bond with the ceramic and stains, creating a smooth, non-porous, and color-stable surface.
### The Corrective Firing
After the initial firing, evaluate the restoration. Is the color accurate? Is the luster correct? If a stain needs to be intensified or the glaze is slightly dull, a second, corrective firing can be performed. You can add a small amount of stain or another thin layer of glaze and re-fire to achieve the desired result.
## Making the Right Choice for Your Goal
Your approach to glazing and staining should adapt to the clinical demand of each case.
- If your primary focus is a highly aesthetic anterior tooth: Concentrate on subtle incisal translucency effects and developing natural color transitions from the gumline to the edge.
- If your primary focus is a functional posterior molar: Emphasize defining the occlusal grooves with stain to create a natural appearance and ensuring a perfectly smooth, durable glaze for chewing function.
- If you are new to the process: Start by mastering the application of a thin, even glaze layer before introducing complex staining techniques.
Mastering this process is the final step in elevating a good restoration to an exceptional one.
Summary Table:
| Step | Key Action | Purpose |
|---|---|---|
| 1 | Meticulous Cleaning | Remove contaminants for proper glaze adhesion |
| 2 | Complete Drying | Prevent bubbling and ensure surface integrity |
| 3 | Apply Glaze Paste | Create a uniform base layer for luster and sealing |
| 4 | Add Stains | Mimic natural tooth color variations and depth |
| 5 | Final Firing | Fuse glaze and stains for a durable, aesthetic finish |
Elevate your dental restorations with KINTEK's advanced high-temperature furnace solutions! Our Muffle, Tube, Rotary, Vacuum & Atmosphere Furnaces, and CVD/PECVD Systems, backed by deep customization capabilities, ensure precise temperature control and uniform heating for flawless glazing and staining. Perfect for dental labs aiming to achieve lifelike aesthetics and durability. Contact us today to discuss how our tailored solutions can meet your unique experimental needs and enhance your workflow efficiency.
Visual Guide
Related Products
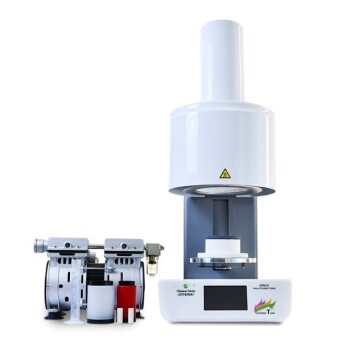
- Dental Porcelain Zirconia Sintering Ceramic Vacuum Press Furnace
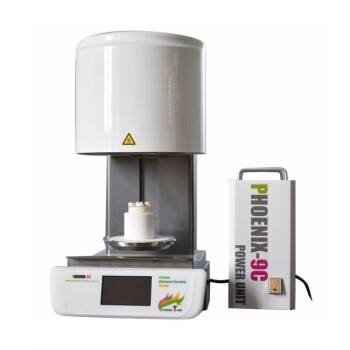
- Chairside Dental Porcelain Zirconia Sintering Furnace with Transformer for Ceramic Restorations
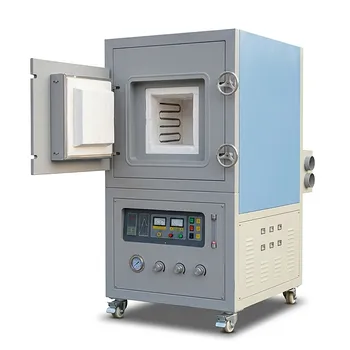
- Vacuum Dental Porcelain Sintering Furnace for Dental Laboratories
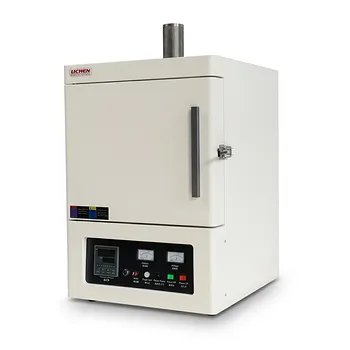
- High Temperature Muffle Oven Furnace for Laboratory Debinding and Pre Sintering
- 1200℃ Muffle Oven Furnace for Laboratory
People Also Ask
- What is the importance of ramp rates in dental sintering furnaces? Ensure Zirconia Restoration Quality and Durability
- Why is chamber size important when choosing a dental sintering furnace? Boost Lab Efficiency and Quality
- What are the consequences of inconsistent firing quality in dental sintering furnaces? Avoid Weak, Flawed Restorations
- What temperature range is typically required for sintering zirconia in dental furnaces? Achieve Dense, Strong Dental Restorations
- What are the key advantages of using a sintering furnace in dental labs? Boost Quality, Efficiency, and Profits